.JPG)
Turbo Odyssey Part 12 -- The Paint Man Cometh
March 24, 2005
I know I have been one poor correspondent lately. It has much to do with this job thing. However, I have not let work stop progress on the convertible, and there is news to report.
In the last installment I had delivered the convertible to the body shop. Work has progressed surprisingly well on the car. My general experience in working on old cars is that when it comes to rust, they are like icebergs. What you see is 10% of the total rust that lays beneath the surface.
This car, however, was more like the output of a computer program: WYSIWYG. What You See Is What You Get. While there were rust areas on the car, there were no hidden surprises at all, except good ones.
One of the best surprises was found under the passenger side rocker panel. Bob and his assistant Carlos cut away the rusted rocker panel on this side to find that the stiffener beneath it was pitted with surface rust but otherwise solid and intact.
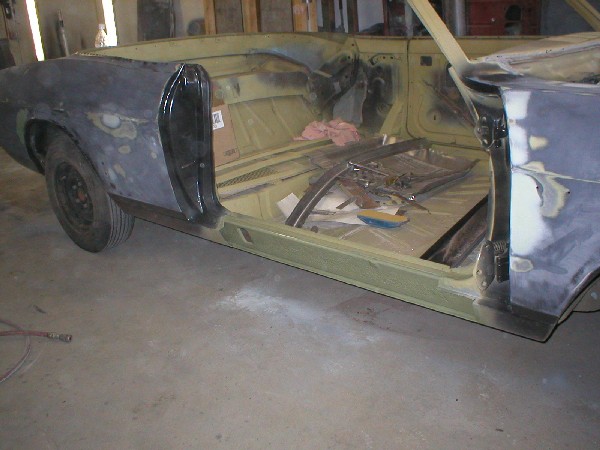
Here you can see one of the quarter panel patch panels; both lower quarters behind the wheels were replaced.
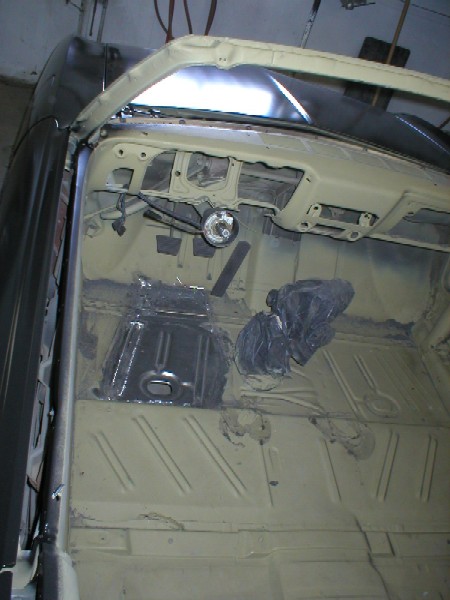
As a result of the rust under the windshield there were some pinholes in the driver's side floorpan. We decided to replace the damaged section. Here, you can see the patch panel cut from the replacement part prior to being fitted into the floor.
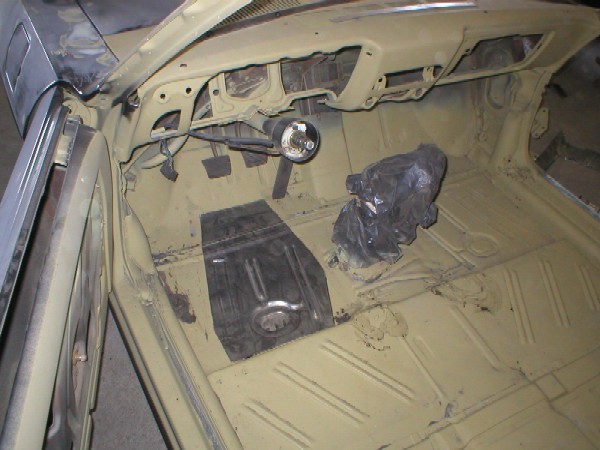
Bob and Carlos were able to butt-weld this panel in so that after grinding down the the welds and repainting the floor, it will be impossible to detect the repair. Here's a picture after the welding took place:
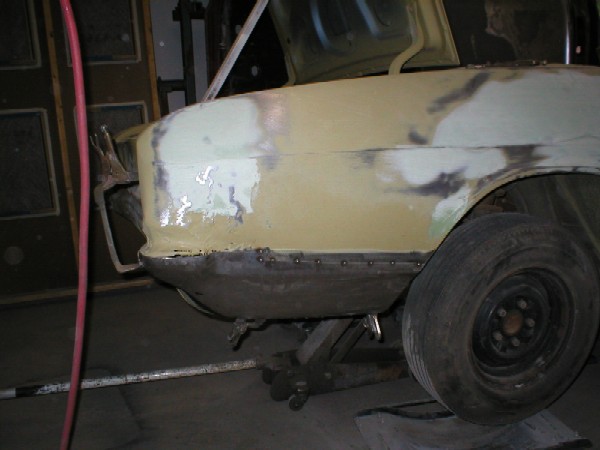
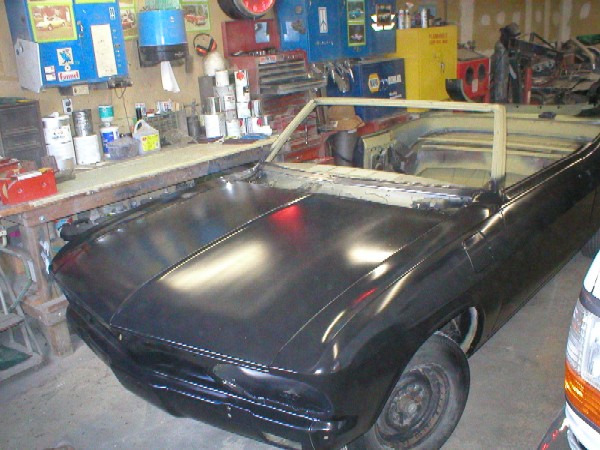
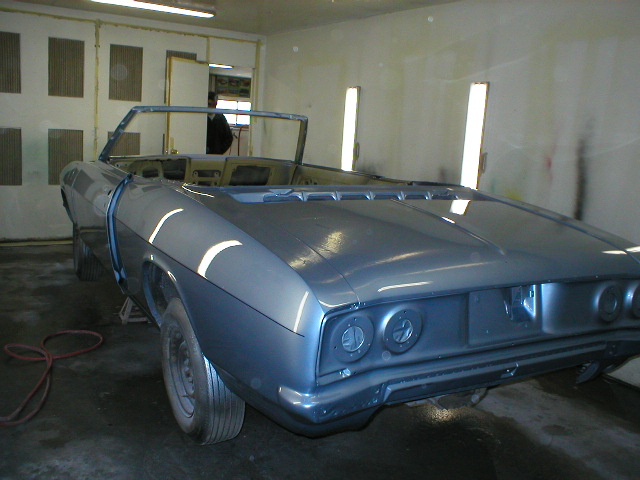
After the sheetmetal was repaired and the various dings in the car were fixed or filled, it was time for primer. This picture shows the car prior to block sanding.
Block sanding of the primer surfacer eliminates minor imperfections and provides a very smooth surface for the application of the finish. The sanding leaves enough "tooth" in the surface for good adhesion of the color coat to the primer:
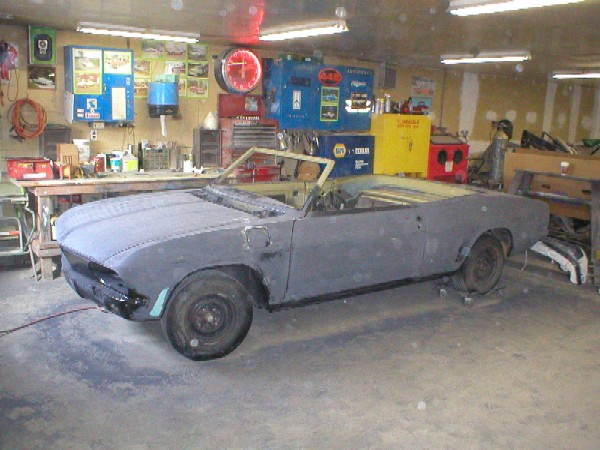
I think Bob needs to clean his lens. (Of course, all that sanding does create dust.)
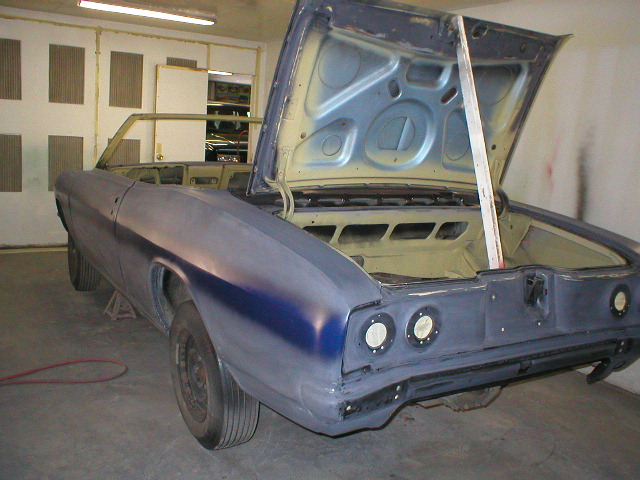
Yesterday, March 23, Bob started the process of applying the base-clear finish coats. The first step was to paint the pinstripe color around the belt line of the car. I specified a dark navy for this.

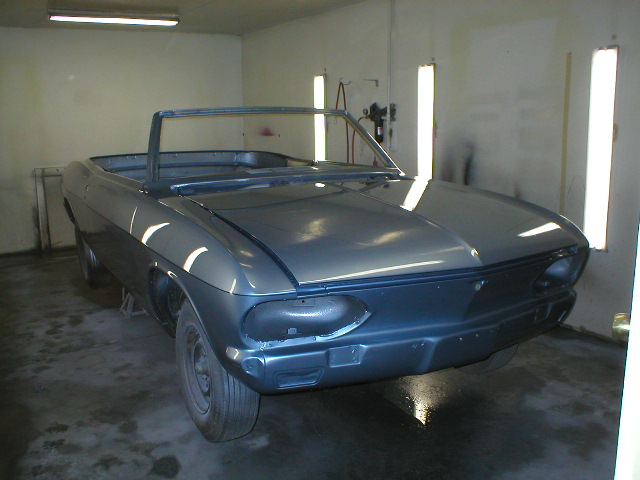
After painting the pinstripe color, Bob and Carlos masked off the pinstripe with fine masking tape. They then applied the base-clear Mist Blue final finish:
Additional work that remains to be done at the body shop includes wet sanding and wheeling the paint, and painting the interior, trunk and engine compartment. I have to admit that this restoration is going much faster than any other I have ever attempted. Of course, I started the red Corsa coupe in 1987, so I guess it shouldn't be too hard to beat my old record.
In the meantime, these pictures make me glad that spring weather is around the corner.