.JPG)
Turbo Odyssey Part 15 -- Staples and Trim
May 29, 2005
I have been having problems with my computer lately. I use a Toshiba notebook and I always buy and extended warranty for notebooks, so it hasn't cost me anything to have it serviced, but after being gone for two two-week trips the shop, it still isn't working right, which means that next week it goes back again. Maybe third time is a charm. (Sigh.)
In the meantime, I stole my file clerk's computer. That's the nice thing about being the boss; let her find somewhere else to work. My copy of FrontPage lives on this poor, sickly machine, however, so I haven't been updating the web page while all this is going on. Which does not, of course, mean that I have not been updating the Vair.
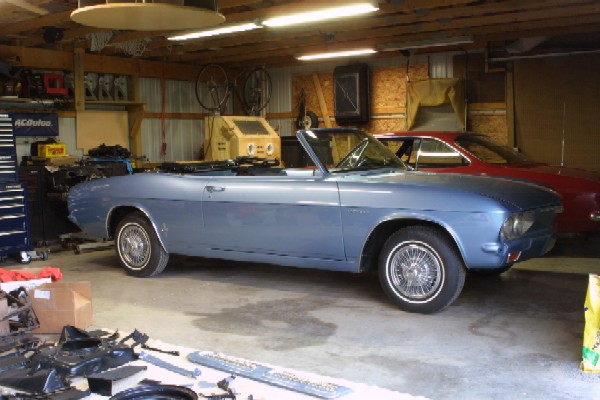
I have been working steadily on the car since I got it back from the body shop. Most of the trim is on the car. I still need to install the bumpers (need to get replated ones), the rocker trim (procrastinating on laying on the floor), the wiper arms (waiting until the electrical system is hooked up again so motor can return to park), the trim around the windshield on the top and sides (I'm getting to it), and the reveals for the convertible top well (a long story).
I might as well get to the long story about the trim around the convertible well now. When the car was media blasted all of the doors were removed. When the engine lid was replaced, the shop carefully lined the trailing edge of the panel with the trailing edge of the quarterpanels. Unfortunately, the deck lid is supposed to extend out a little farther than the quarters in order to match the edge of the cove moldings, which of course were not on the car at the time. I did not realize this until I installed the grille panel forward of the deck lid. When I closed the lid for the first time, the front corners caught the grille panel and left two symmetrical gouges in the paint. Since the trim holds that panel in place and since the panel needs to be repainted now, I will wait on that trim until I get a chance to have this little boo boo repaired. Oops.
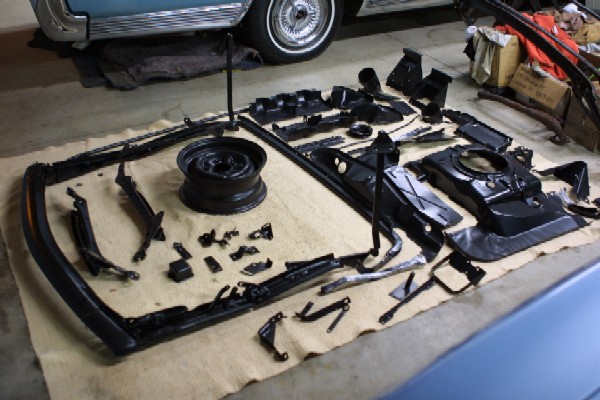
I took a whole bunch of parts to be powdercoated to Grand Rapids. The powdercoater I use is Steve Van Os at Coatings Plus in Grand Rapids. You can reach Steve at (616) 451-2427. I took several boxes of greasy, rusted metal to him and in a week I got back beautiful, pristine parts for a very reasonable price.
As you can see, I ended up having the top frame powdercoated. One of my concerns was that some of the joints in the frame are riveted together and have nylon bushings. I feared that the heat used in powdercoating would melt the bushings. Steve told me that they had a low heat process that should not harm the nylon. In the end, since I have two top frames, I decided to risk it and it worked out great. I assembled the top in my living room:
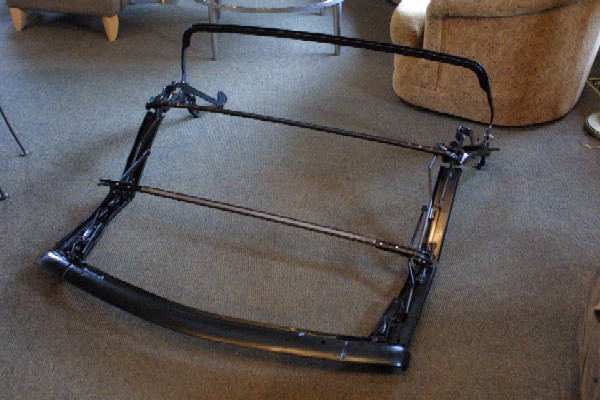
I have a very understanding wife.
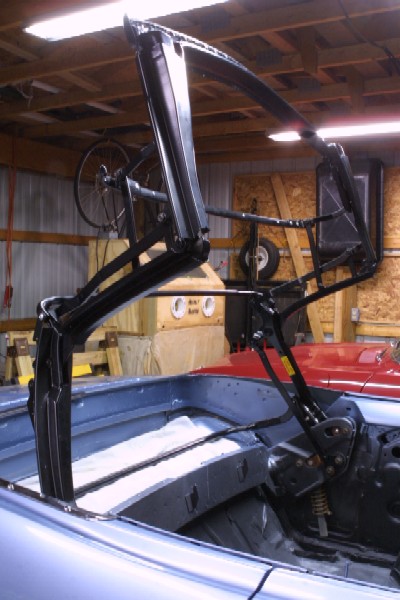
My oldest son Jake and I installed the top mechanism in the car. It was pretty straight forward, and the body manual has a good chart for correcting misalignment issues.
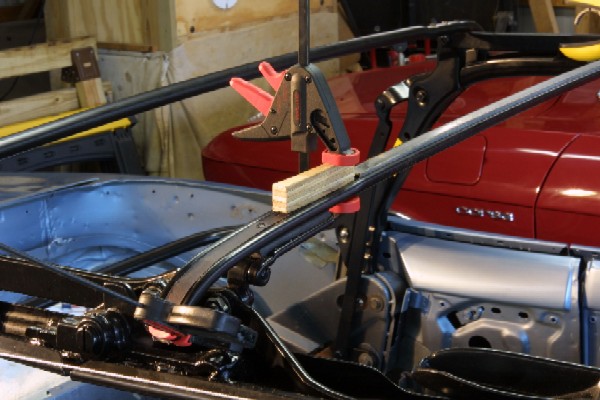
In order to prep the top for powdercoating, I removed all of the nailstrips from the frame. These cardboard-like strips are what the top is stapled to when it is installed. Replacing these is a laborious process. I purchased some cardboard from Clarks that the recommend for the task, along with a jar of glue. The cardboard must be cut into strips -- I am using a band saw for this -- and glued into place. It takes several layers of cardboard to build the strips up to the appropriate thickness. The main limiting factor is the number of clamps I have on hand:
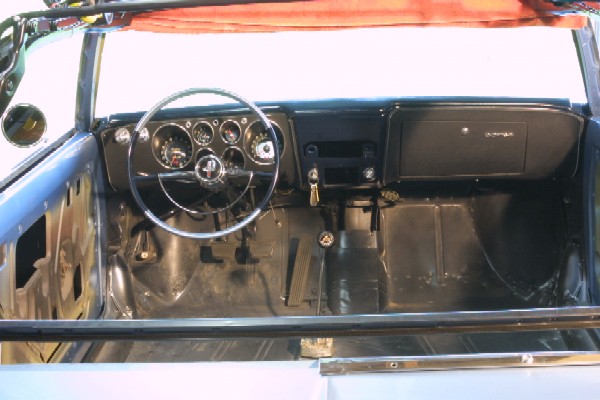
I have also got most of the work done on the dashboard. The instrument cluster, wiring harness, glove box and dash pad are all installed. I still need to install the replacement speaker, and my nice replacement stock radio was damaged in a minor shop mishap, so I have to find a replacement.
Everything inside the trunk is done, except for a new dual master cylinder, which isn't going to happen until after this restoration is completed.
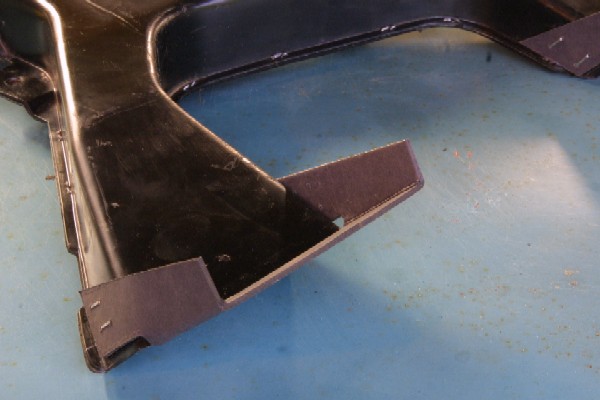
The little cardboard flaps that go on the defroster duct had rotted away, as they always do. I purchased replacement cardboard pieces from Clarks, but had some apprehension about installing these, as they were originally stapled on from the factory. I don't own a stapler that would easily go through plastic and thick cardboard. It turned out to be a fairly easy job. The replacement parts come with staples. Once the cardboard is properly aligned, I just took one of the the staples and used it to dimple the cardboard. Then I took my smallest drill bit--I think it was 1/16--and drilled out the staple holes. I then inserted the staples and swedged them over with a screwdriver. It worked great.
(Some of you by now must recognize the ever-popular 1963 Olds 98 shop table. It is covered with Corvair parts at present. Won't be able to do that once the car is repainted.)
This weekend I am at my in-laws celebrating their 50th wedding anniversary. I brought my vent windows with me. They are cleaned, have new window latches and channel fuzzies, and are ready to install once I get back to DeWitt.
Finally, as I went to publish this post on the Web I got an e-mail from Dan Konkle that my motor was finished.
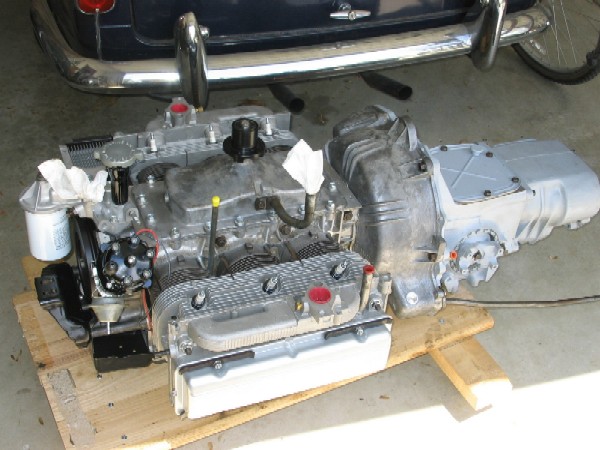
Looks like Dan did an excellent job. Now I need to work a trip to GR in to my schedule.