Part 6: Later that same day....
February 28, 2015
To make up for the paucity of posts, here's a second one on the same day. The next step on the package shelf project was to attach the parts that will manage the transition areas.
I screwed the front piece to the shelf first. Before doing that I layered up some duct tape on the front of the shelf so that there would be a gap for the screen to roll down the front of the shelf.
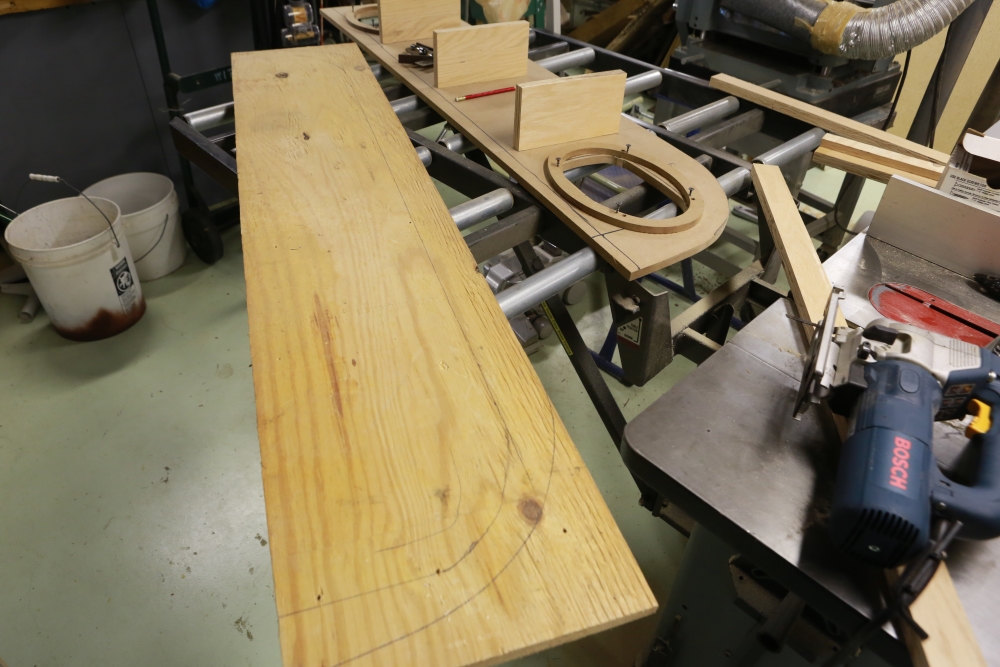
Next I started on the part that will hold the Masonite trim in the back. This picture shows how I marked out the piece on some scrap plywood.
I used the jigsaw to cut it out.
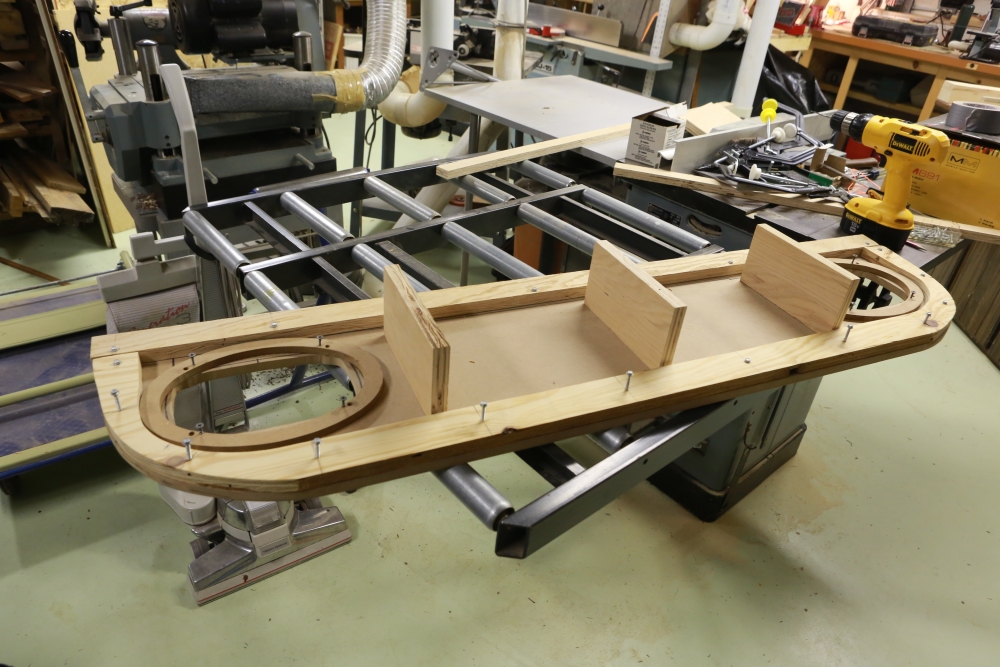
Next, I screwed it to the package shelf. The plan is to attach the Masonite to it, take it off of the package shelf, add the vinyl trim, and then reattach the assembly to the shelf after the screen has been applied.
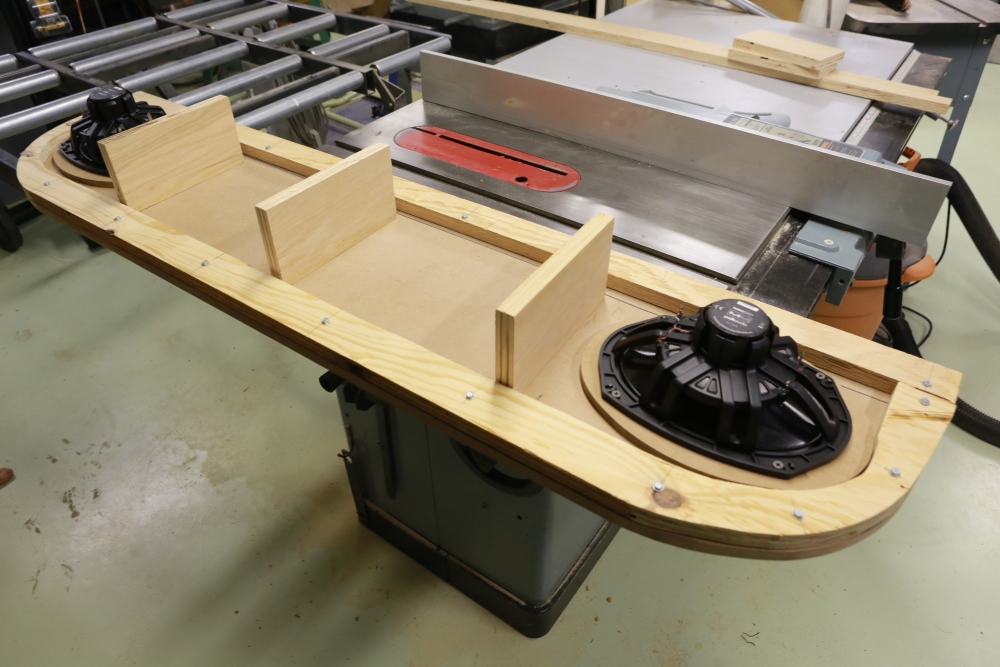
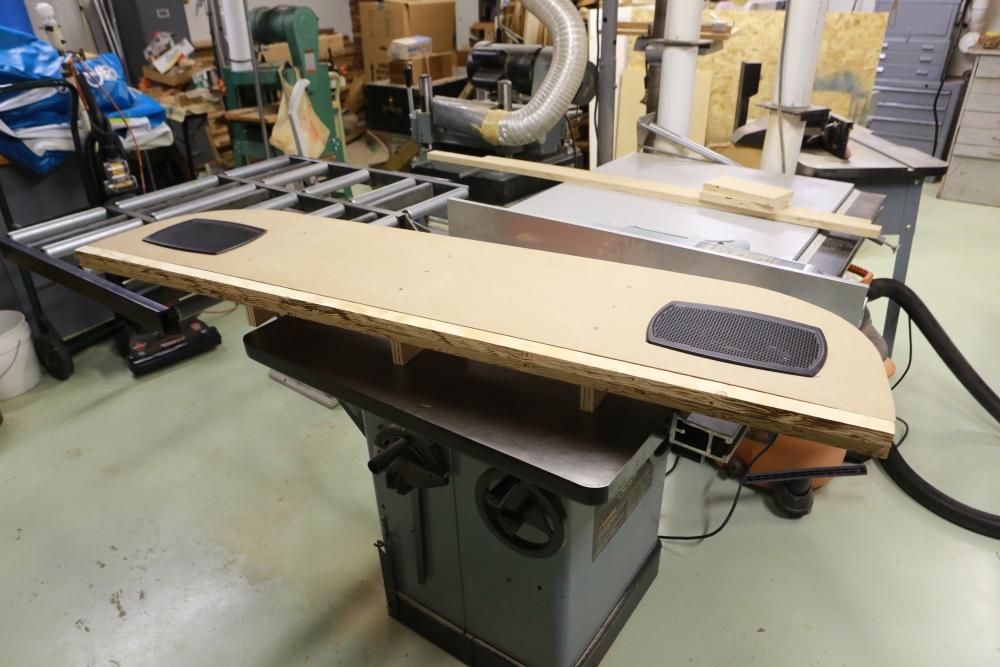
Here's a picture with both pieces installed and the speakers in place:
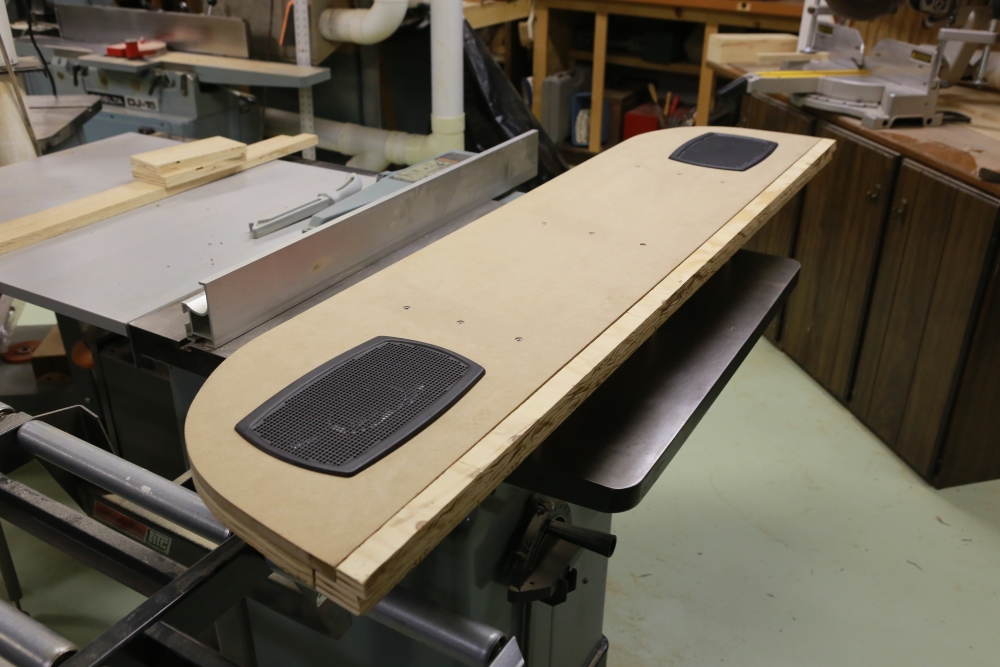
From the bottom:
Here are a couple more shots. I am a little concerned that the trim in the front has made the shelf too deep but I have a Plan B if that's the case. Unfortunately the car is 100 miles away at home so I can't really test-fit it right now. It's solid enough with the two pieces of trim installed on the bottom that I don't think there's any need for standoffs on the ends.
\\