Part 8: Pet-Proof Screen
March 14, 2015
We are back up at my mom's in Harrison and my brother Rich is here with his son Charlie from Tennessee to celebrate my mother's birthday. Our idea of fun is working on a project, so we are working on the package shelf.
We started by clamping on the old cardboard, which we're going to use as a template for a Masonite replacement. For some reason, the cardboard is a little short, so we will have to modify the part slightly to fit.
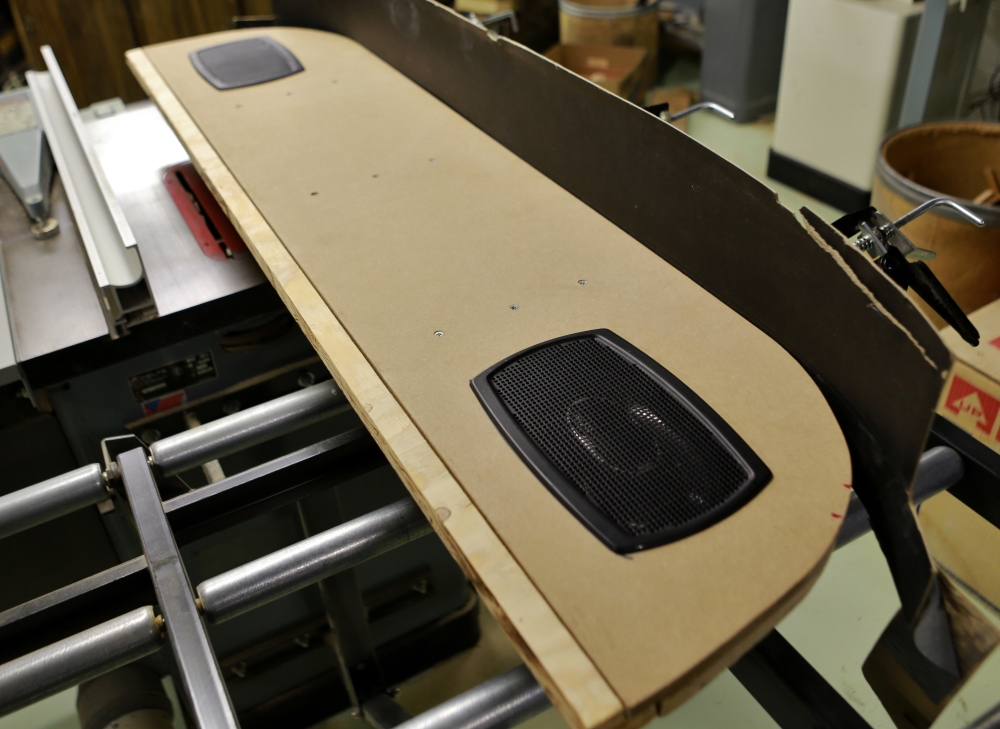
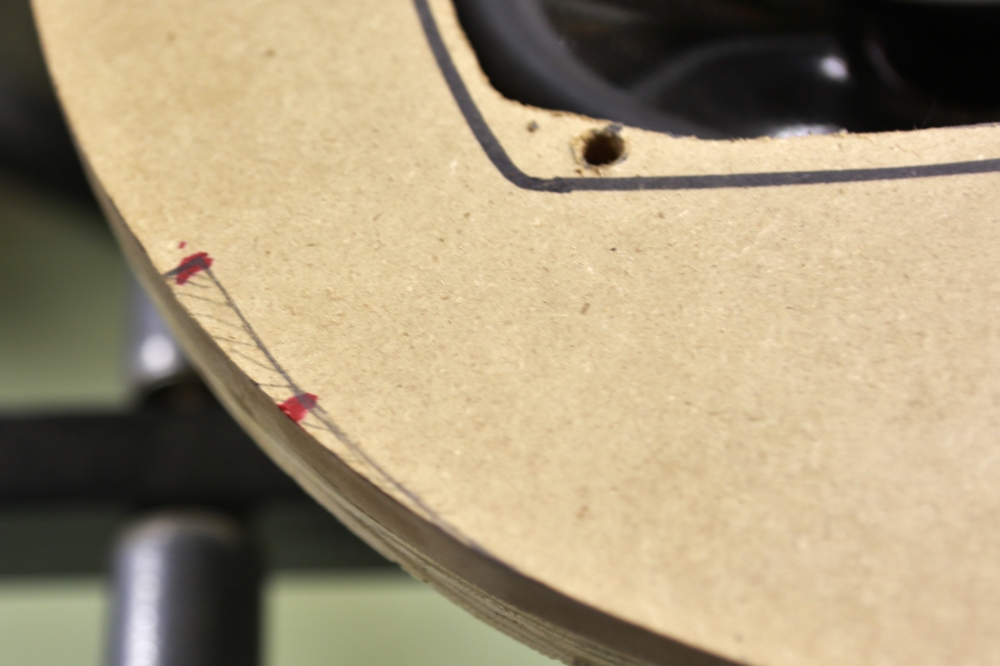
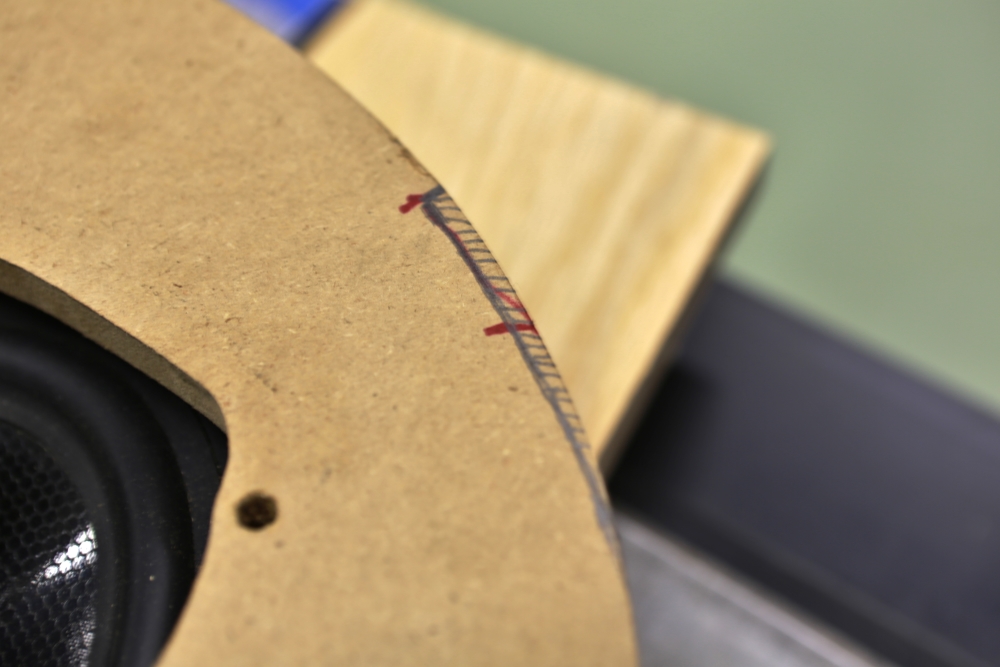
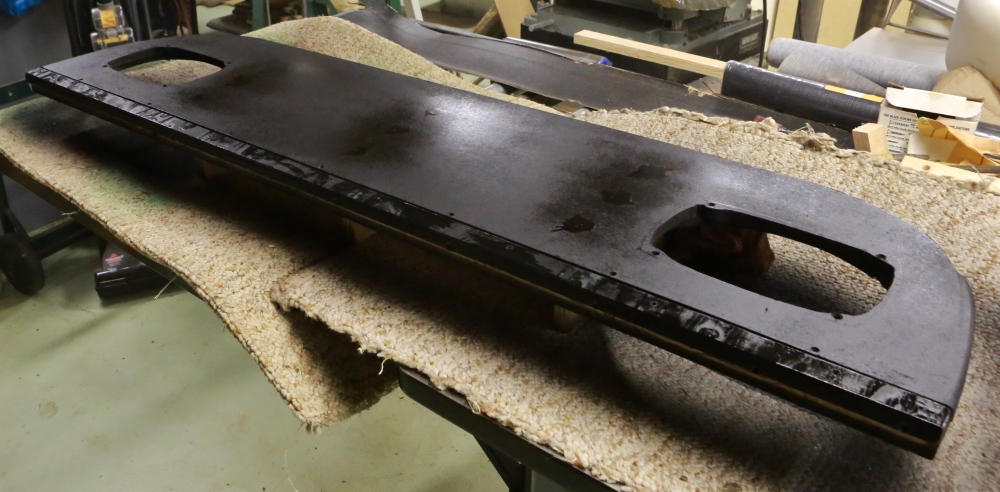
The red marks in the picture above show where the sheet metal on the body is tight against the shelf. If you look at the last picture on the previous page, you can see that the shelf is tight in against the metal where the little plastic trim pieces used to go on the cardboard. So that means the shelf will have to be relieved so that there is room for the Masonite. First step is marking the material to be removed.
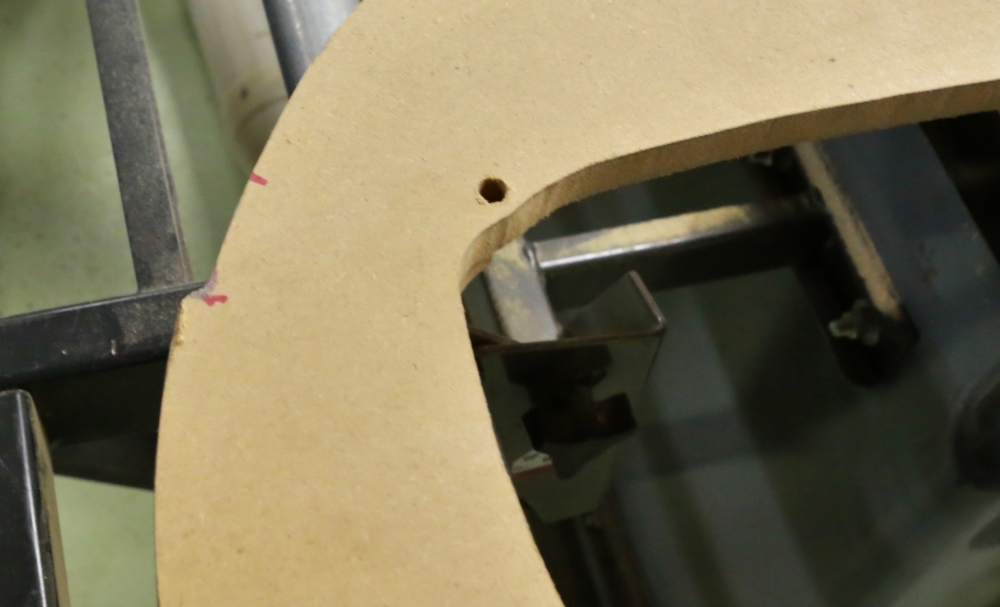
I used one of the large sanders to remove the marked areas.
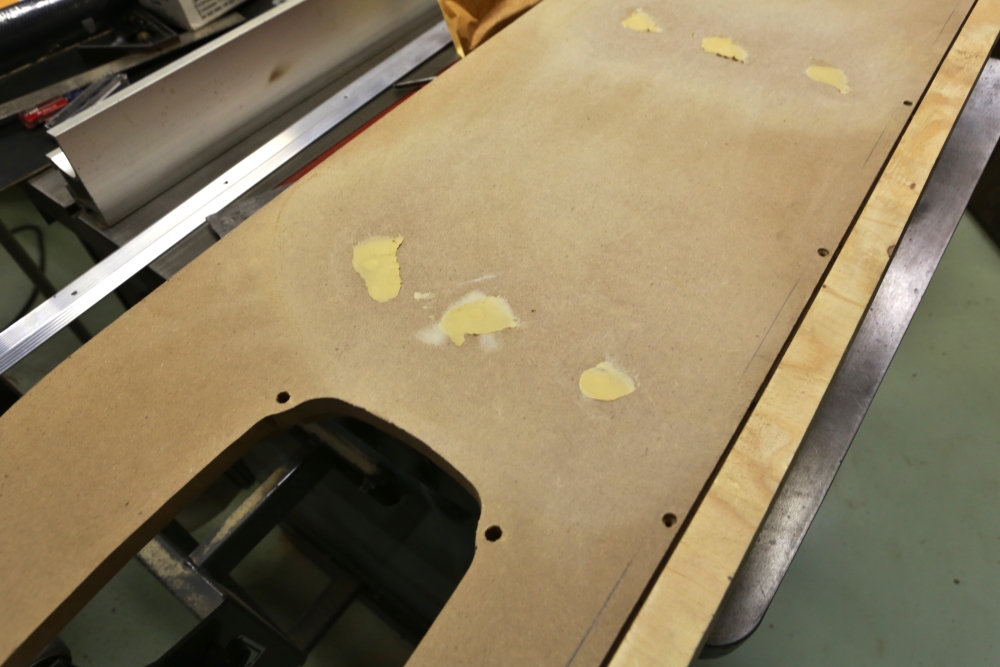
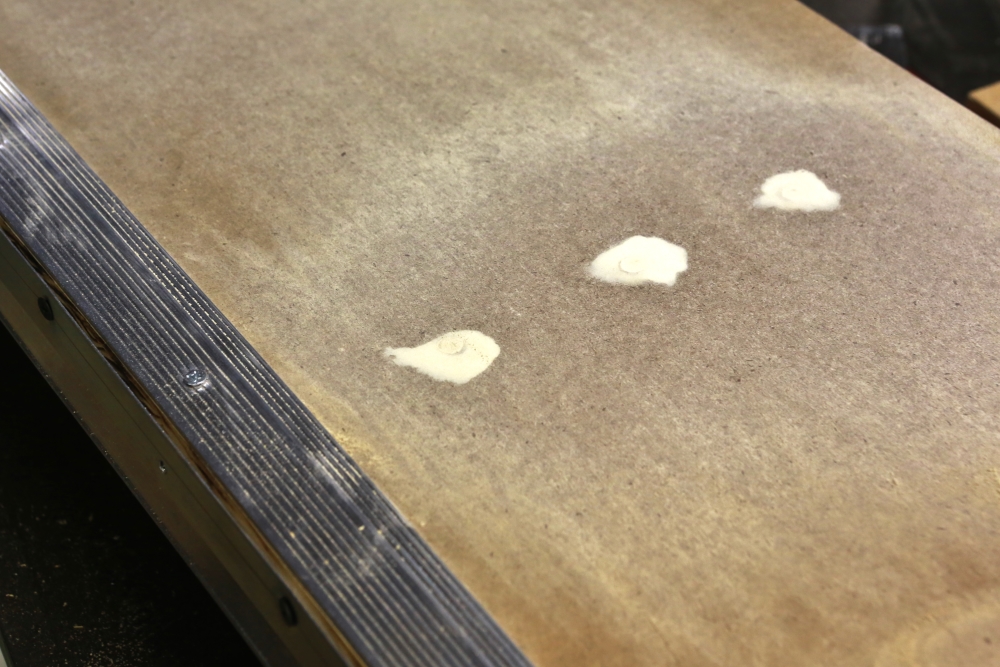
We got some wood putty and used it to cover the screw holes on the top of the shelf.
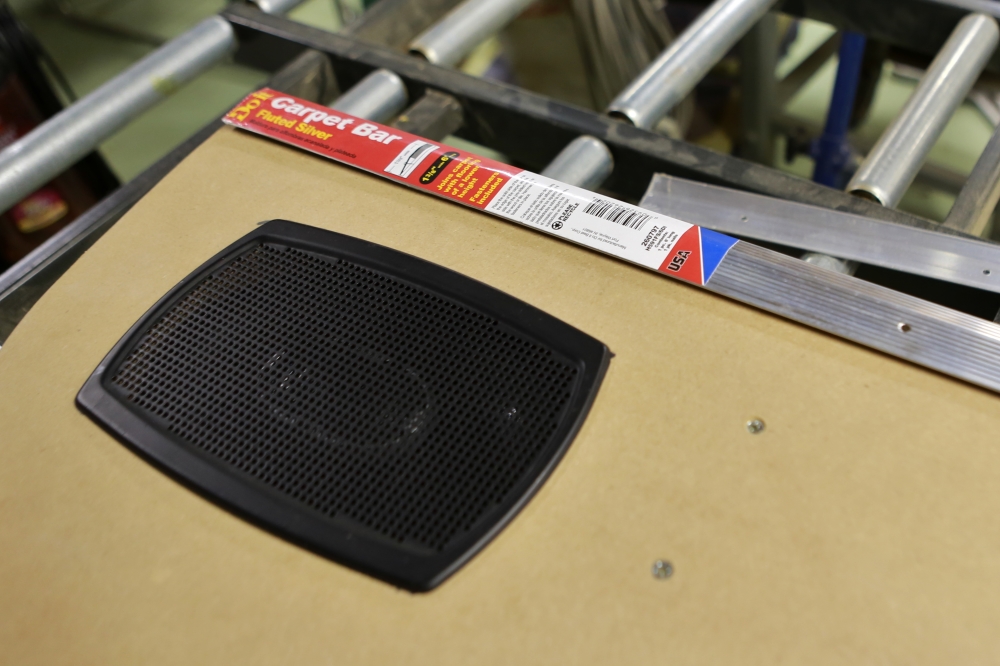
Rich and I went to the hardware store and we got some trim to use for the base of the vinyl transition piece at the front of the package shelf.
We're screwing the trim to the shelf rather than nailing. The screws will be covered with foam and then vinyl, but we still needed to work the trim a bit to make sure the screws won't be noticeable through the trim material.
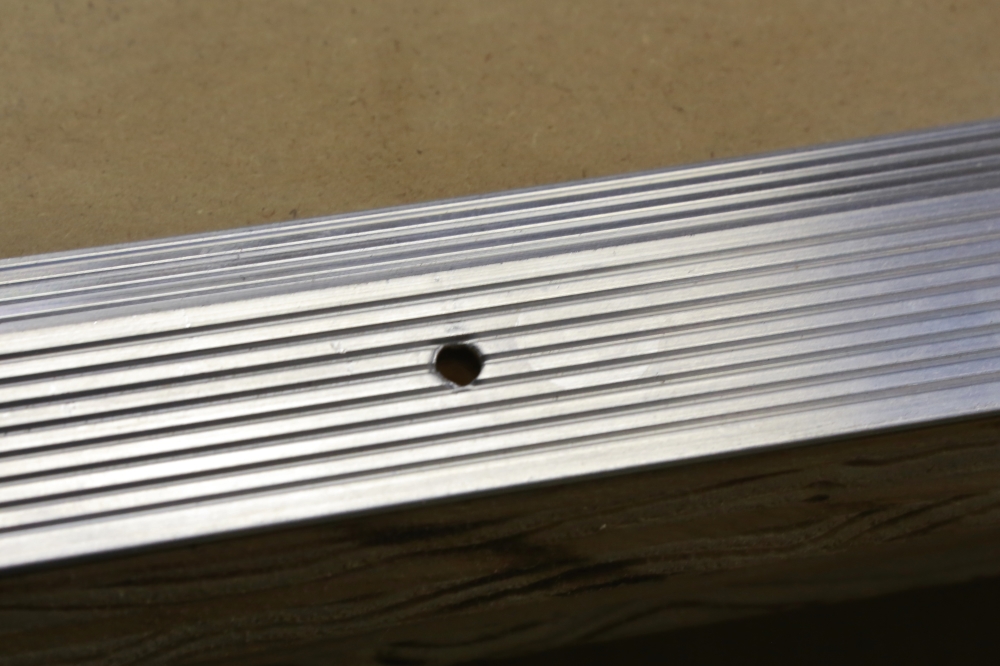
Here is one of the original holes:
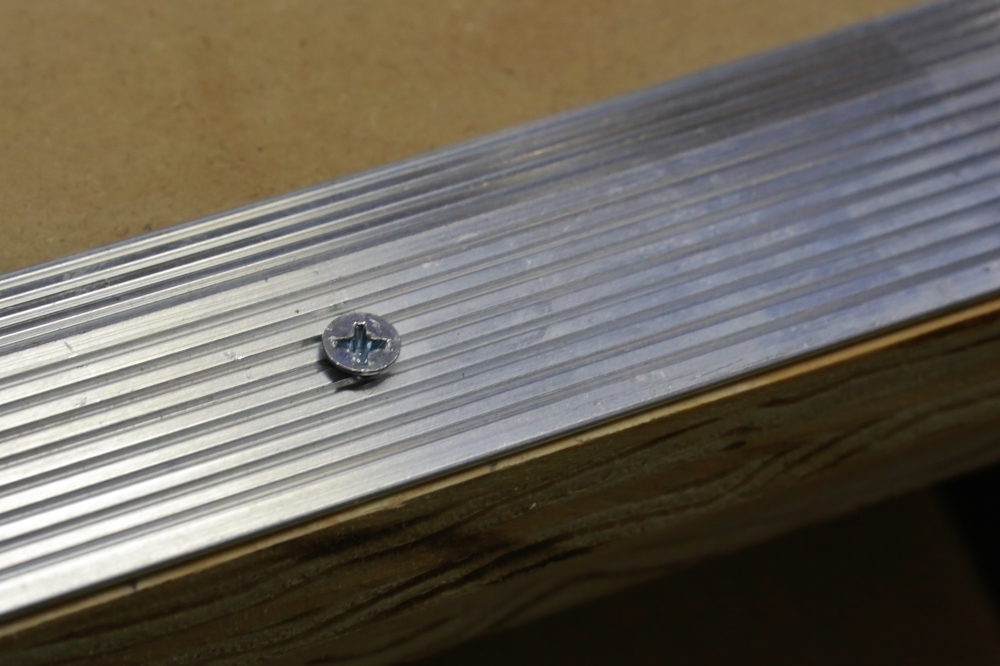
If we just used these holes as is, it would look like this:
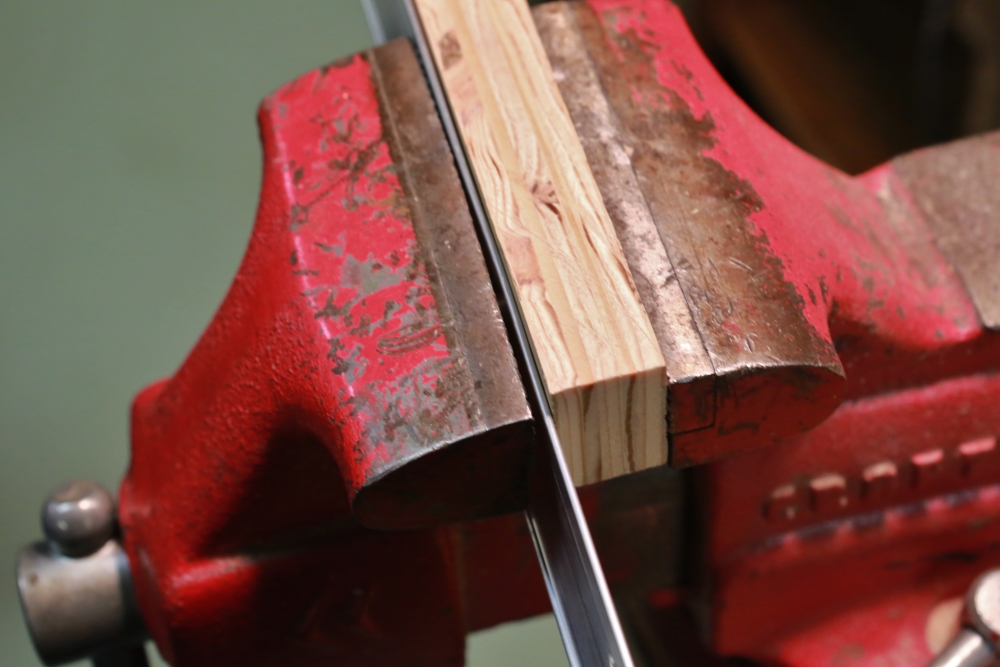
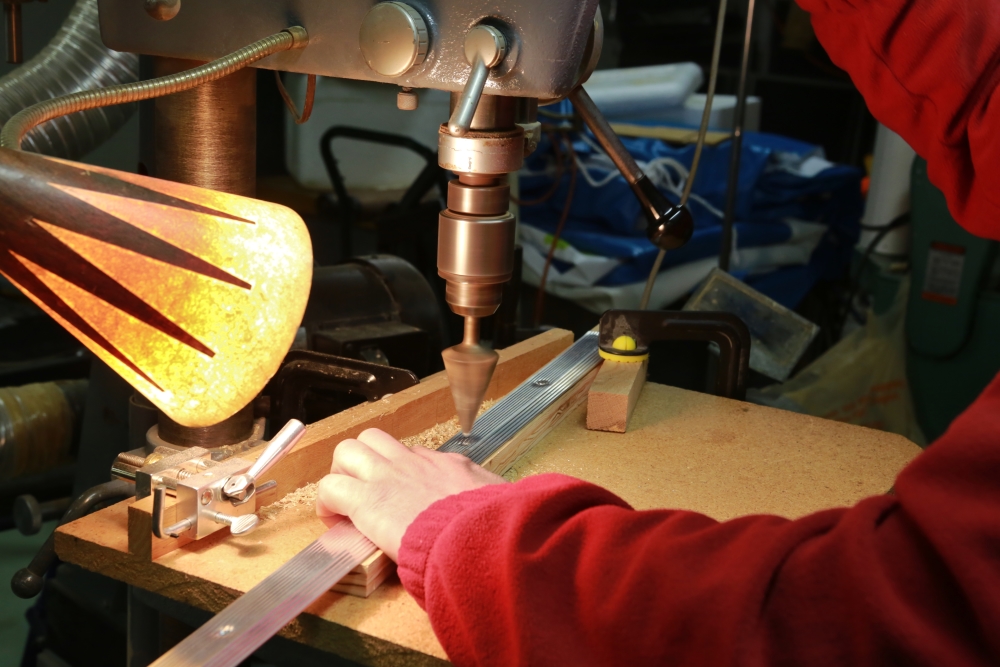
This would certainly be noticeable through the trim material. The first step to addressing this was to drill a hole in a small block. This was then used with a bench vise and one of the screws to bend the metal down around the hole.
After this Rich reamed the holes a bit to give them a little more bevel.
He used a belt sander on the back to dress the hole so that the trim would sit down flat.
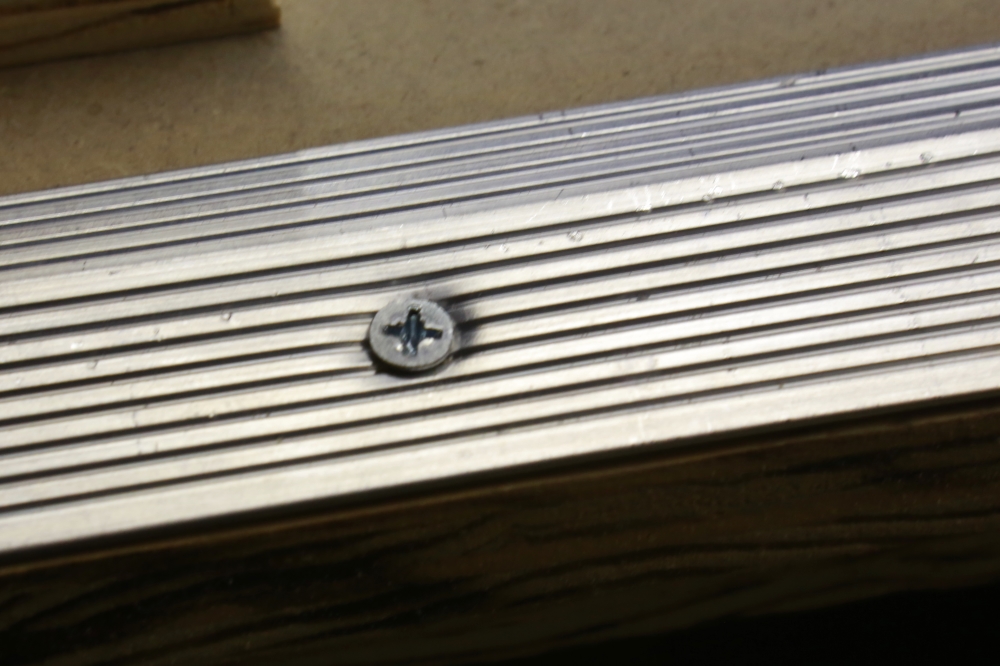
After these modifications the screws fit in like this:
Here is what the trim looks like when attached.
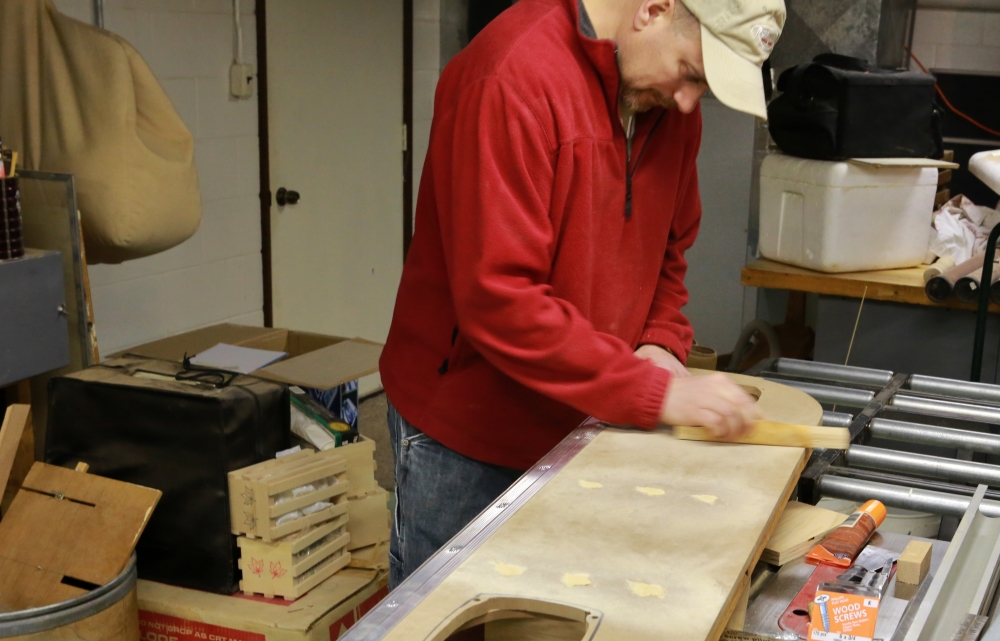
Here's Rich sanding down the putty.
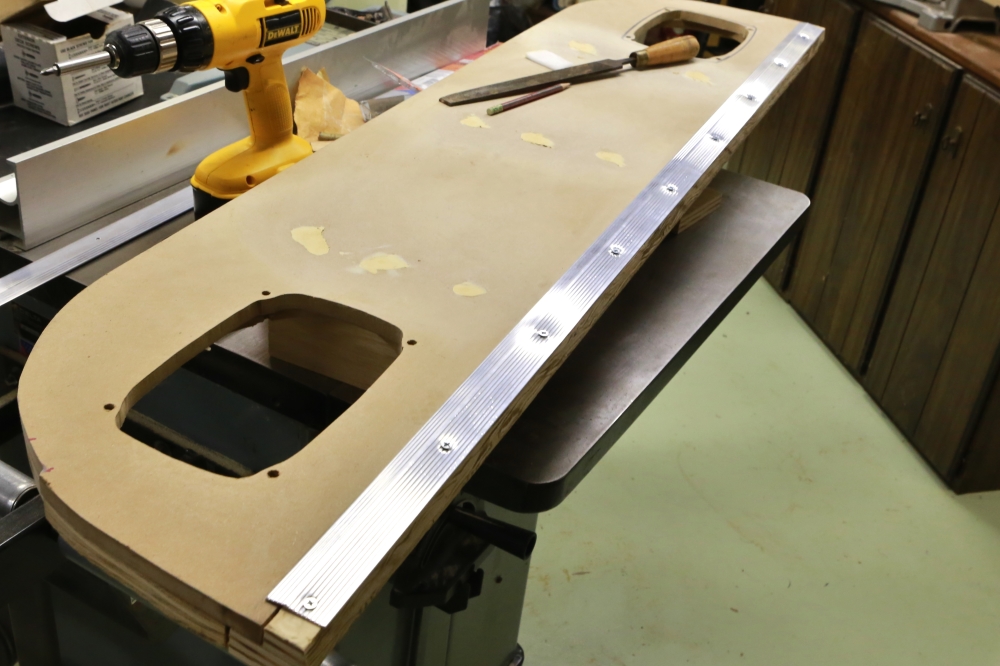
This next picture shows the top and front trim attached. The foam will cover the screw areas but will stop at the seam.
This end picture shows how there is an area to trap the front panel.
Progress on sanding down the putty.
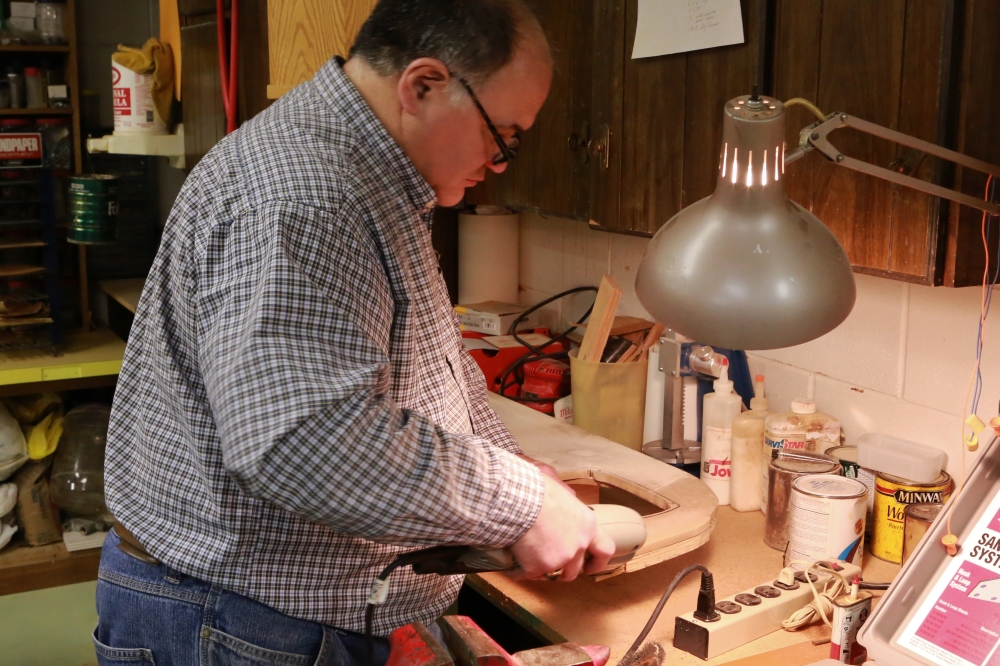
Because the shelf fits very tightly, we decided to radius the ends so that it will go in easier. Here I am working on it with a contour sander.
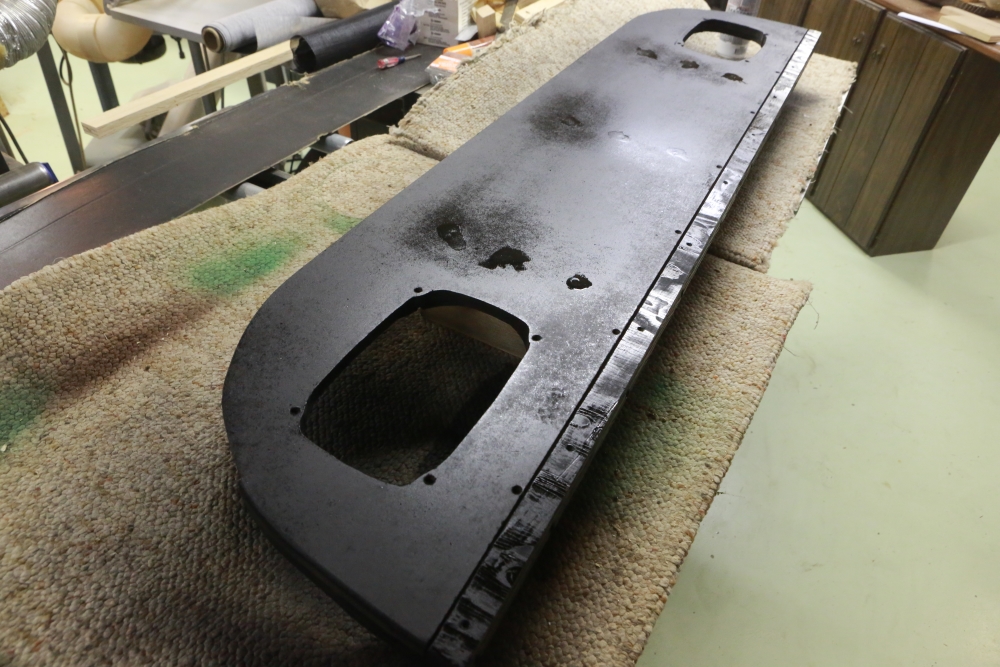
Next came a base coat of black paint.
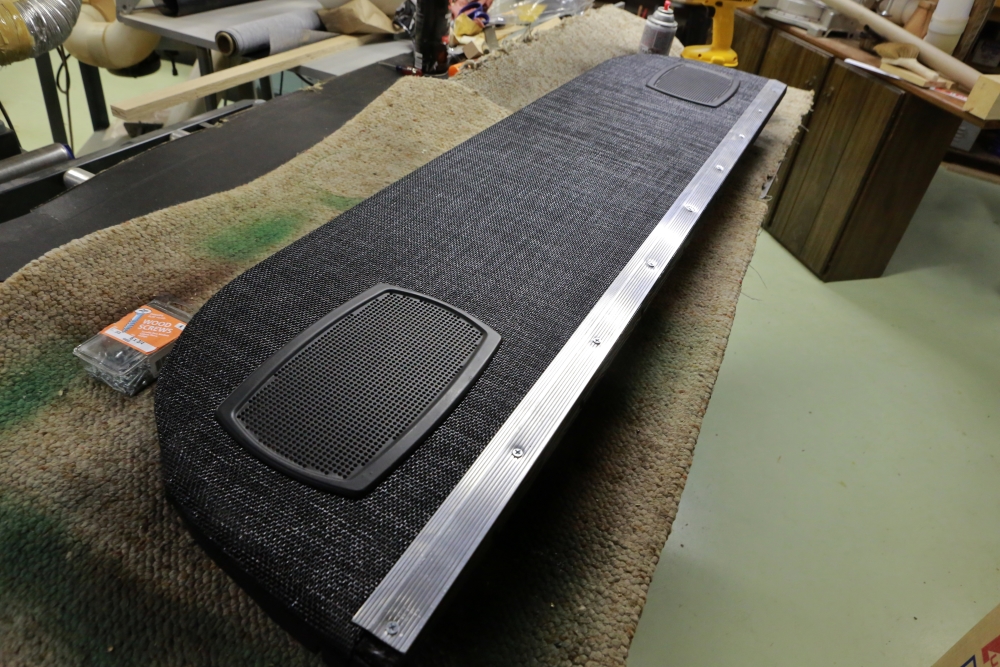
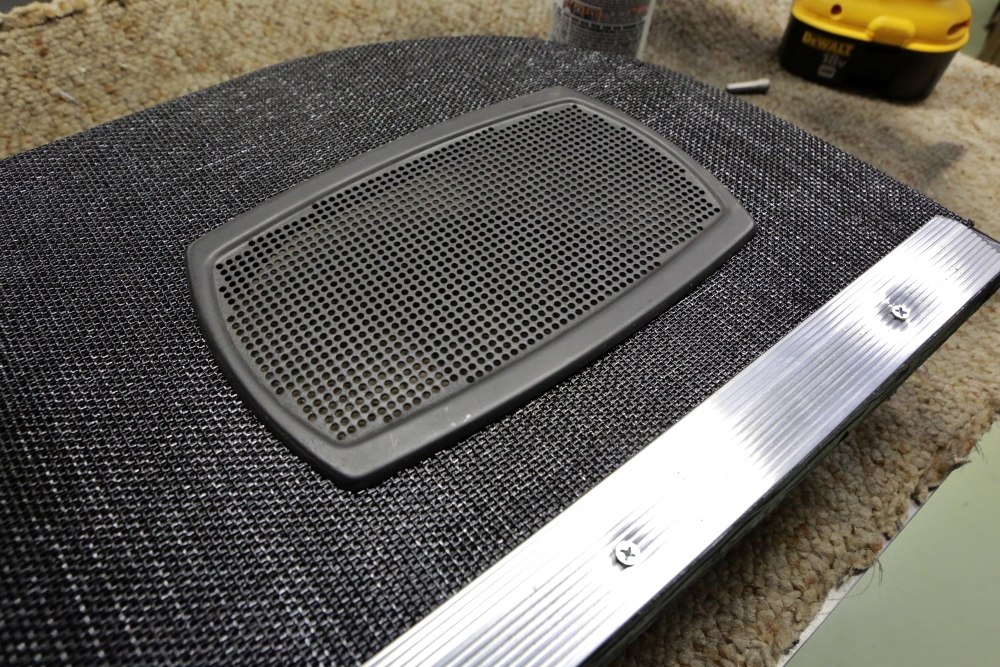
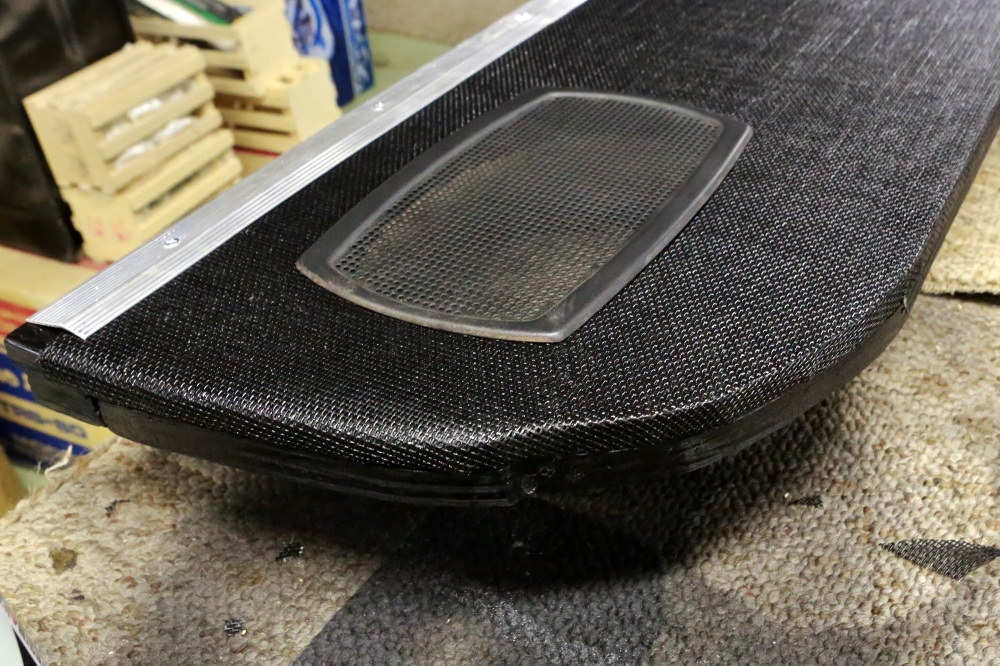
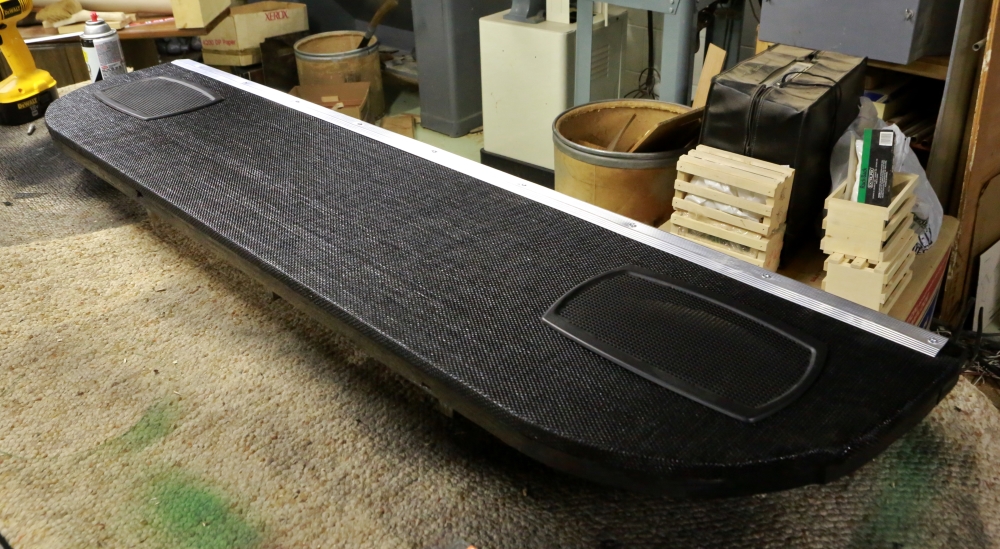
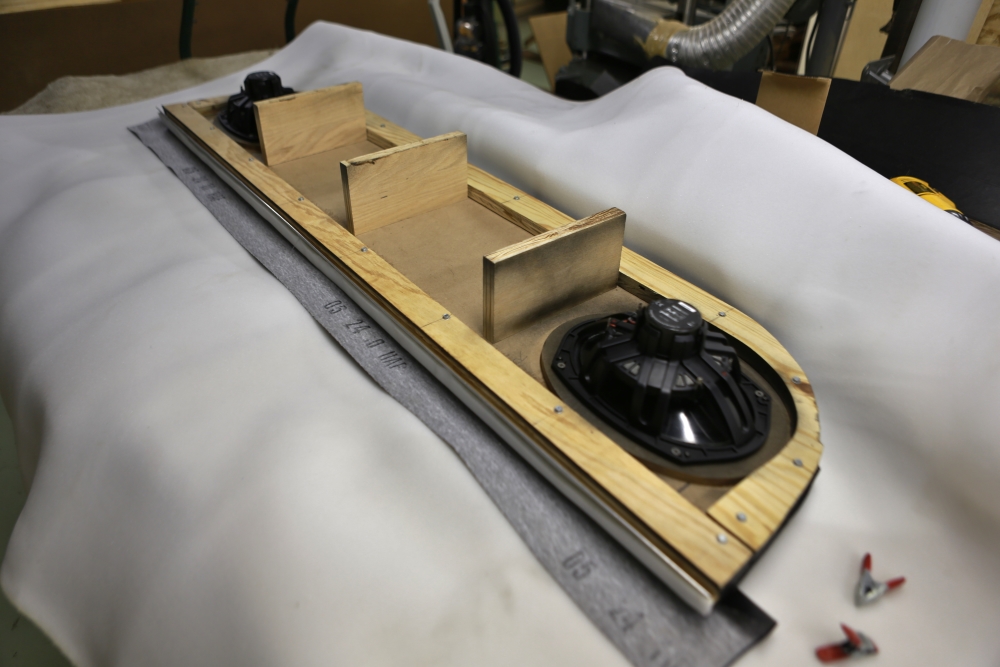
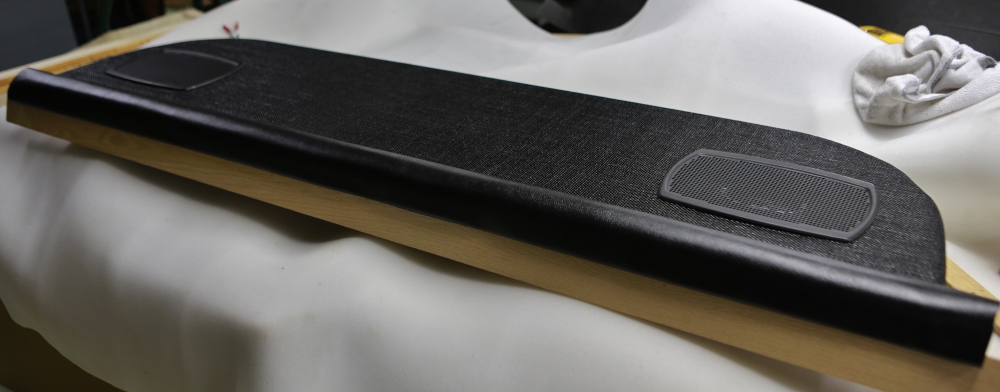
As previously mentioned, the plan was to cover the shelf with pet-proof screen, which seems to to do a nice job of approximating the material used on the package shelf of my '63 Olds. Unfortunately I didn't take pictures while we were applying the screen material, but we unscrewed the bottom trim, glued down the screen, and then wrapped it around the edges. These pictures show the end result after the bottom trim was reattached. We also screwed the top trim on and put on the speaker grilles just to add a little pressure while the glue is drying.
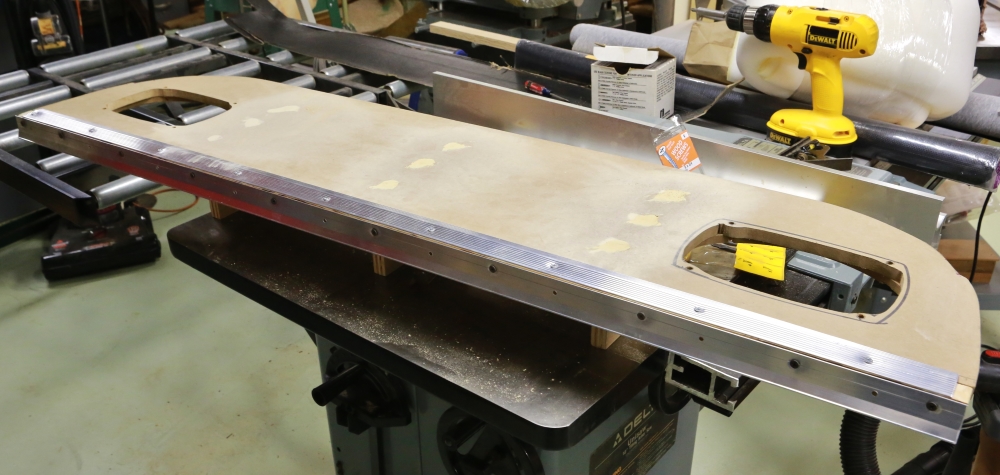
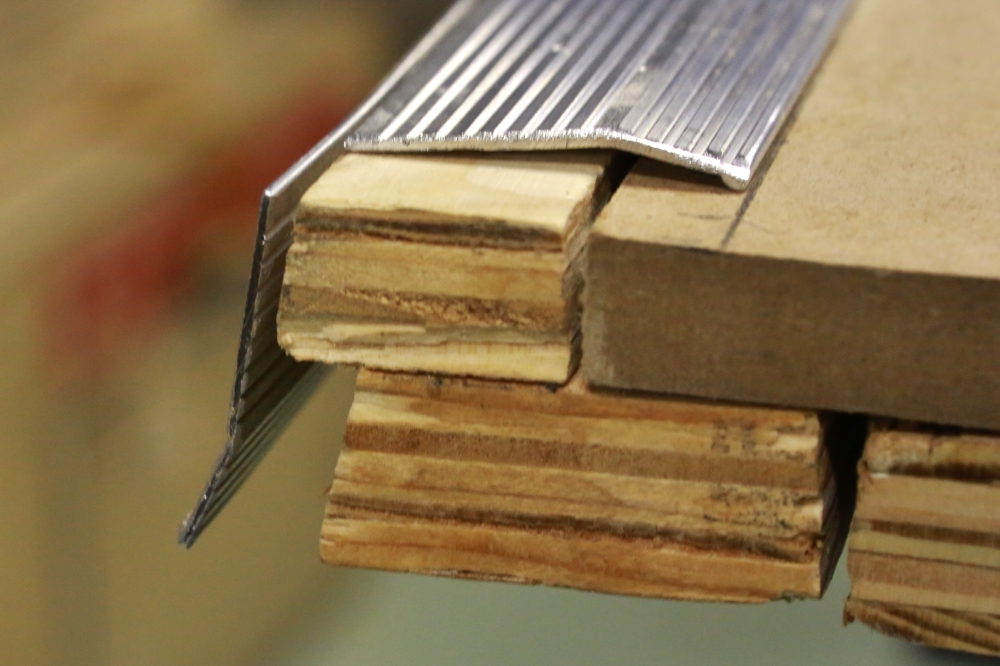
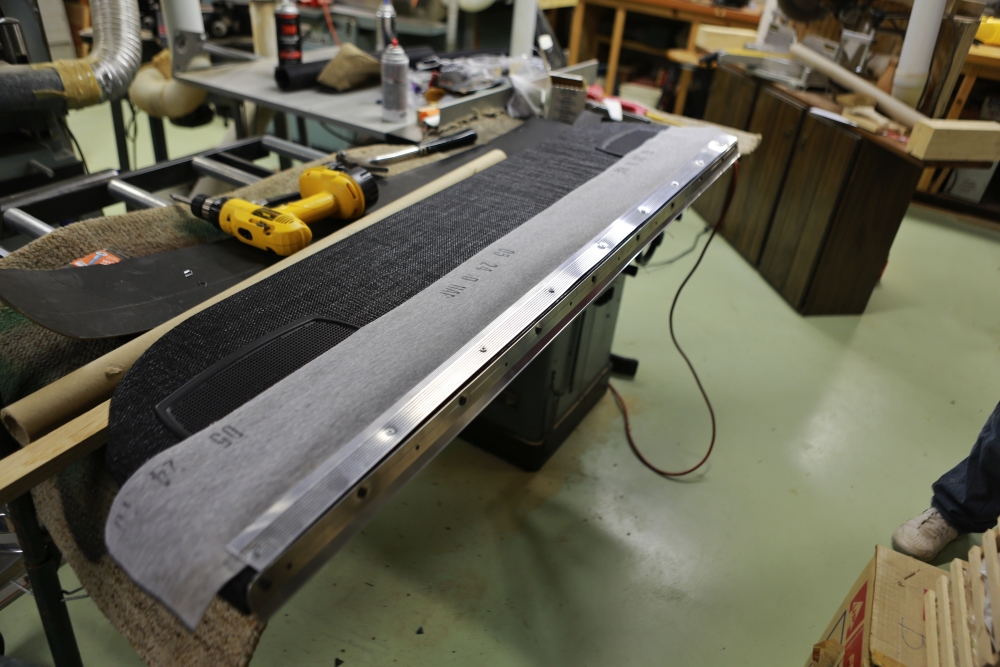
The next step was to cover the front edge with vinyl. We cut a strip of OEM vinyl 5 3/8" wide and stapled it to the wood at the leading edge. Then we fastened the metal trim over it.
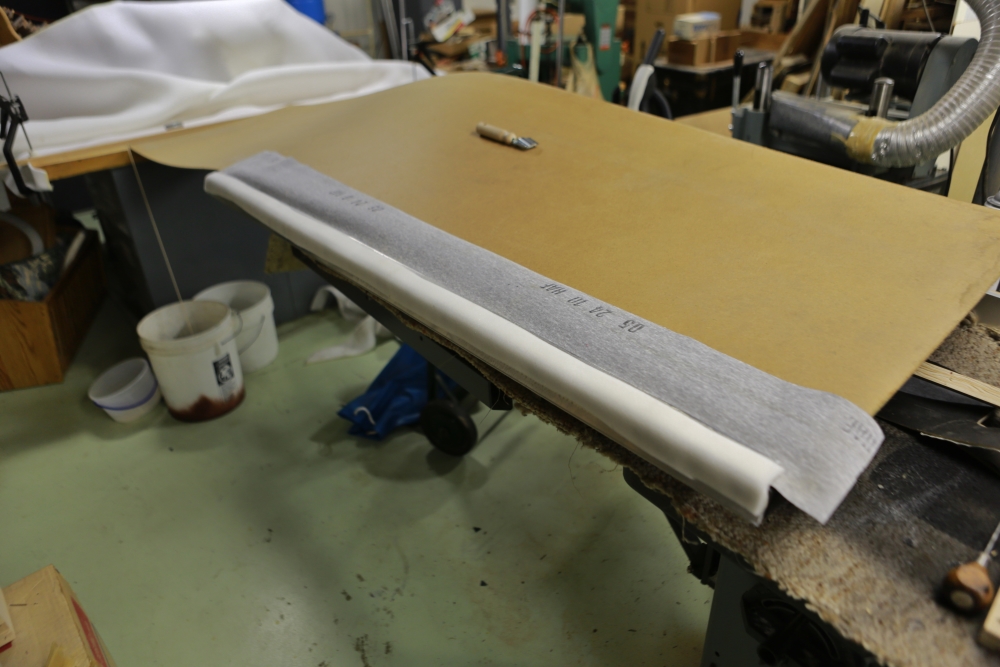
A two-inch strip of foam was glued over the edge.
The vinyl was wrapped over the top and glued inside the lip on the bottom.
We inserted a board in the slot in order to keep pressure on the glue while it cured.