Windows 64
Part 1
January 12, 2003
Jeff, Jim Neal and I started on a software upgrade for Jim's '64 Monza vert today. The software in question was the rear window; the old one had permanently crashed.
O.k., enough of the stupid software analogy. It wasn't that funny to start with, but it was the best I could come up with on short notice.
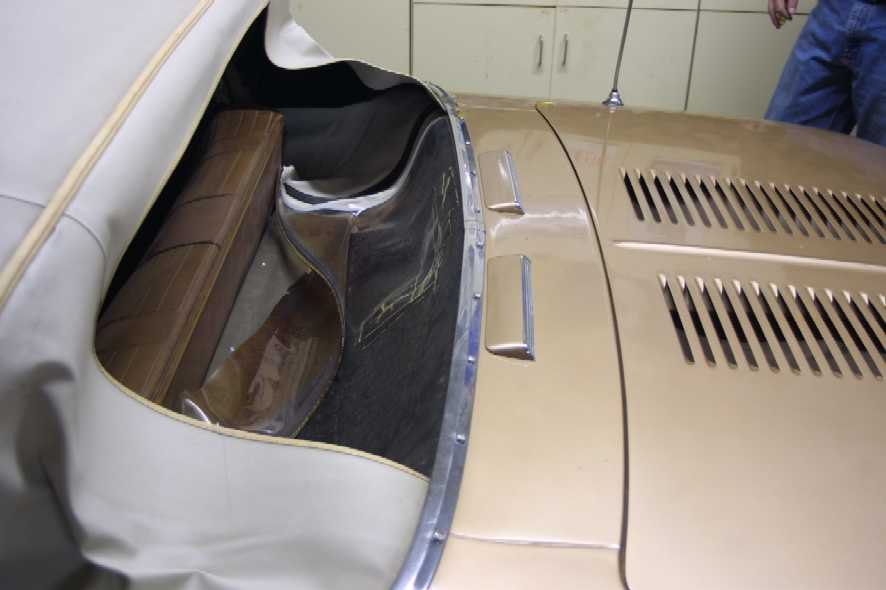
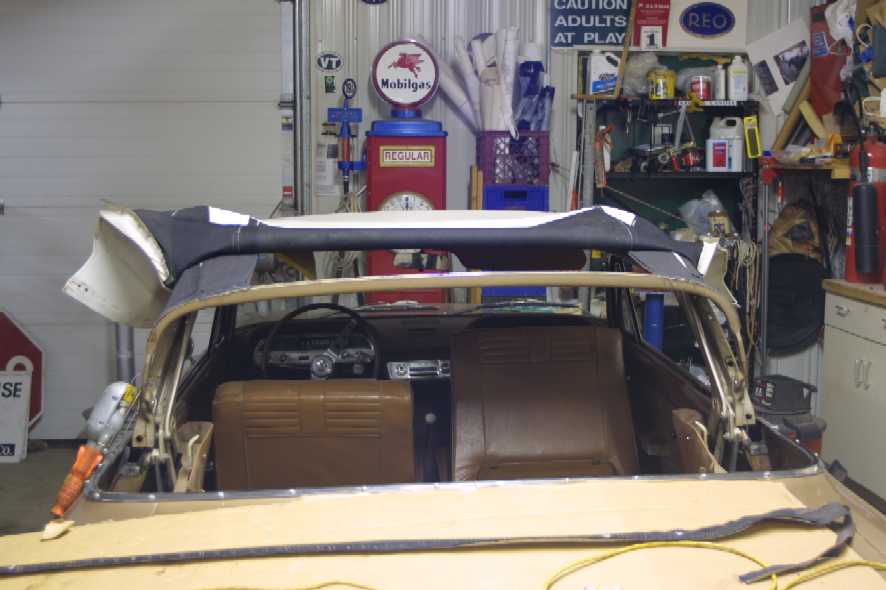
Anyway, as you can see in this picture, the window was pretty much toast:
I did some reading in the shop manual, polled the VV Vair Zenmasters, and then figured it wouldn't make sense until we got into it.
We started by removing the rear seat. Next, we removed the row of Phillips screws that attach the front edge of the convertible top bag. The top back is the fabric that covers the top well into which the top folds when it is down. Once these screws were removed, we could start removing the trim sticks that hold the bag, window and rear portion of the top in place. The trim sticks are a wood-like material sheathed in metal to which the top, bag and window are stapled. The trim sticks are then bolted to the body to sandwich the top against the car. This is how the top is held in place in the rear. The trim sticks are held in by a bunch of 7/16 in. bolts. I let Jeff and Jim remove these bolts. I offered to climb in the car with them, but we decided that we did not know each other well enough for that.
Somewhere in here, Jim hauled out the first round of beers.
Once the bolts were removed, we were able to pull the back of the top away from the body.
The fabric -- up to three layers at places -- Is attached to the trim sticks with a plethora of little staples. Where there are multiple layers of material, each layer is attached with staples, so we started by removing the staples that hold the convertible top to the trim sticks. Once these were gone, we were able to unzip the window and remove the assembly of the top bag, rear window and trim sticks from the car. We then proceeded to remove the staples that held the window to the trim sticks. We decided to leave the ones attached to the top bag, which helped to keep the trim sticks in place and in order.
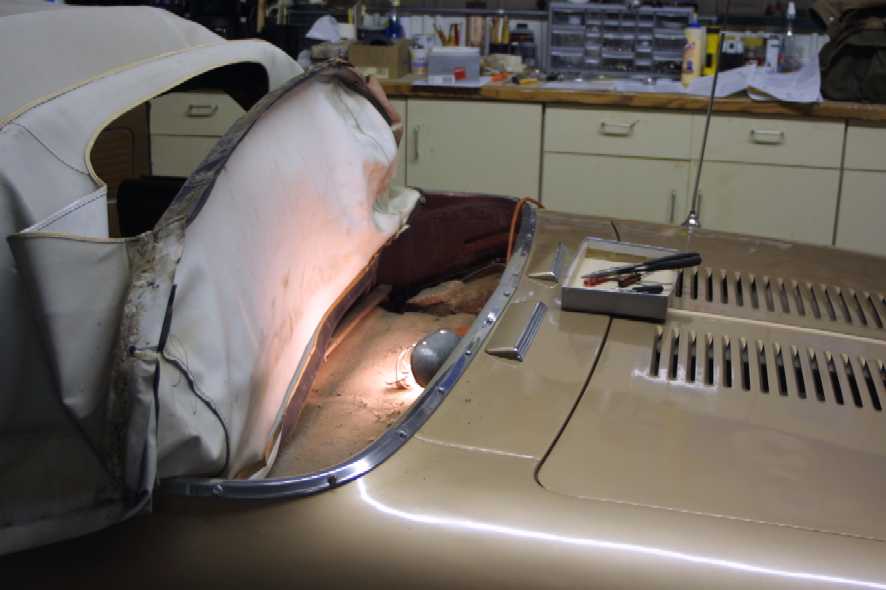
Here you can see the bag with the trim sticks attached.

When installed, the white part of the bag faces down -- you don't see it -- while the black part is the "package shelf" when the top is up.
We toyed with the idea of zipping the new window in using the existing zipper. The zippers appeared to be compatible at first blush, but they were sewed on entirely differently. The old zipper had lots of material hanging down into the well on the passenger side, but ended not far beyond the top edge of the window on the driver's side. The new one, which we got from Clarks, has the zipper running pretty much the length of the top. It became obvious that getting the zippers to work together would be no easy task. We decided that it was not worth it to use the old zipper; that meant that we would have to remove the part of the window that stays under the convertible top when the window is zipped out.
This strip of fabric runs on top of the rearmost bow of the top frame. It's stapled to that frame, and on top of it is stapled the top itself. A final row of staples covers the trim welt that covers all the staples. (You can see the welting in the pictures above; it is a little discolored compared to the rest of the top.)
Before removing this strip, it's necessary to remove the window seals for the rear quarter windows. These strips hold the forward edge of the "C" pillar part of the top to the frame. They are held in by one Phillips screw and three 3/8 in. nuts. Remove these, and the entire back end of the top comes free.
Before we started removing the top, I got inside the car and with a piece of chalk marked numerous places where the top and the window met so that we could transfer the marks to the new part and line everything up correctly with a minimum of fuss.
This done, Jeff and Jim busied themselves with removing the staples that hold the welting in place.
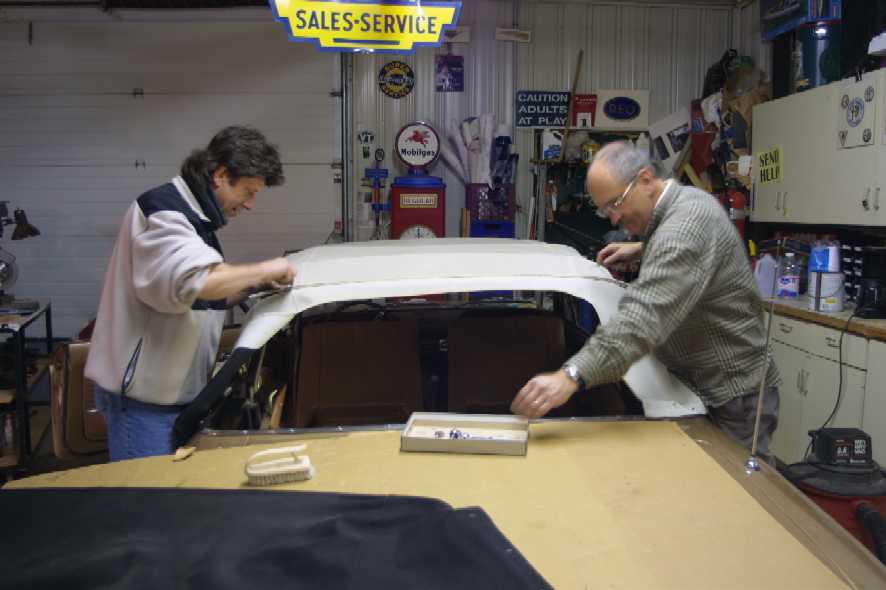
Next, they removed the staples that held the top in place. This allowed the top to flip forward so that we could remove the fabric holding the other side of the old zipper:
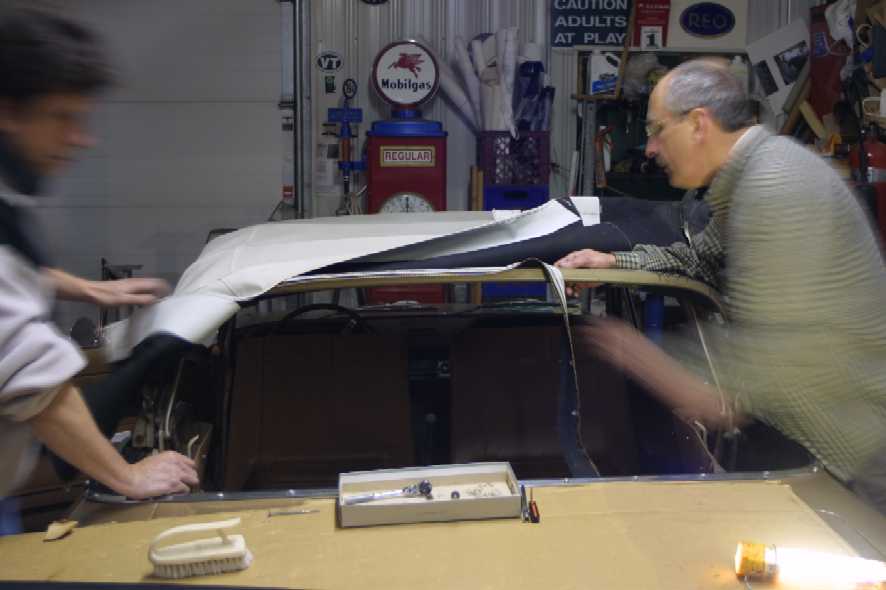
Once this was completed, the only thing holding the rear bow in place was the two inner top panels that hold padding in place to cushion the top.
At this point, we each had another beer and decided to let reassembly wait another day. We will probably try to get the thing reassembled next weekend.
Other navigation:
Legends of the Engine Compartment
Detroit Area Corvair Club Homecoming 2002
Gallery: 1965 Corvair Corsa 140 Coupe
Norman C. Witte Personal Web Page
All images and text copyright Norman C. Witte 2003.