Windows 64
Part 2
February 9, 2003
It's been nearly a month since we worked on Jim Neal's convertible top. Friday we made arrangements to reconvene on Sunday at around 2:30 p.m. Jim's barn has a radiant gas heat system and good insulation, so he got out there early this morning and fired up the heat. He rolled the car under one of the heat lines, with the window on the deck lid, so that everything would get toasty. By the time we got there the window was nice and "supple." "Supple" was the word for the day. We practiced saying it.
I have to say that when it is a windy 17 deg. F outside, walking into an 80 deg. barn is a real pleasant thing. Of course, as we worked, it just got hot, but we wanted to keep it warm in order to let the window and top stretch as much as possible.
With the window nice and pliable, er, uh, supple, we started stapling it to the trim sticks that bolt around the well. We used the holes the window had already punched in it, and lined those up with the holes in the trim stick, much easier now that the window was soft. Then we used stainless steel staples to staple the window to the sticks. We initially put in just a few staples to hold things in place, and then went back and filled in with more staples.
Once that was completed, we glued in new rubber blocks. These go in between the body and the trim sticks. Here's Jeff gluing them in:
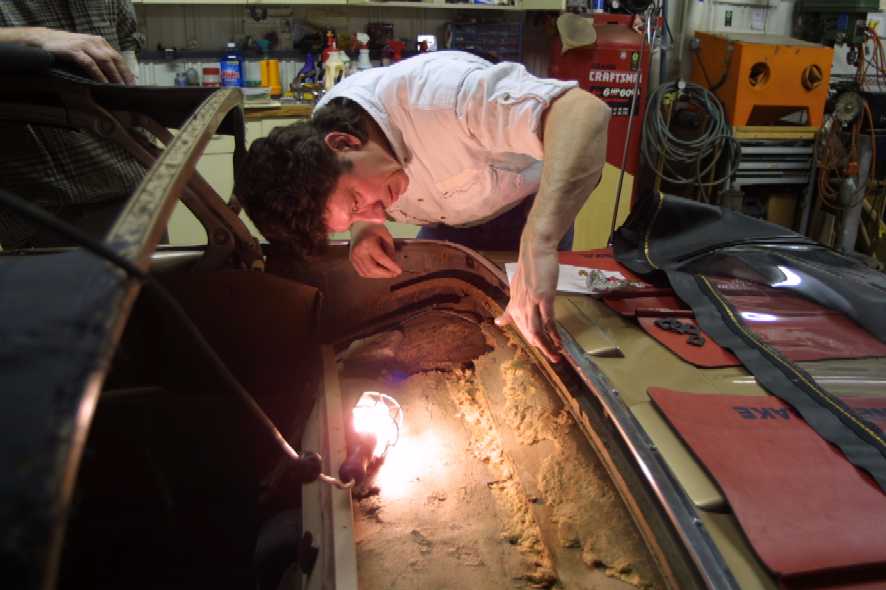
You can see more of the little blocks up on the engine lid.
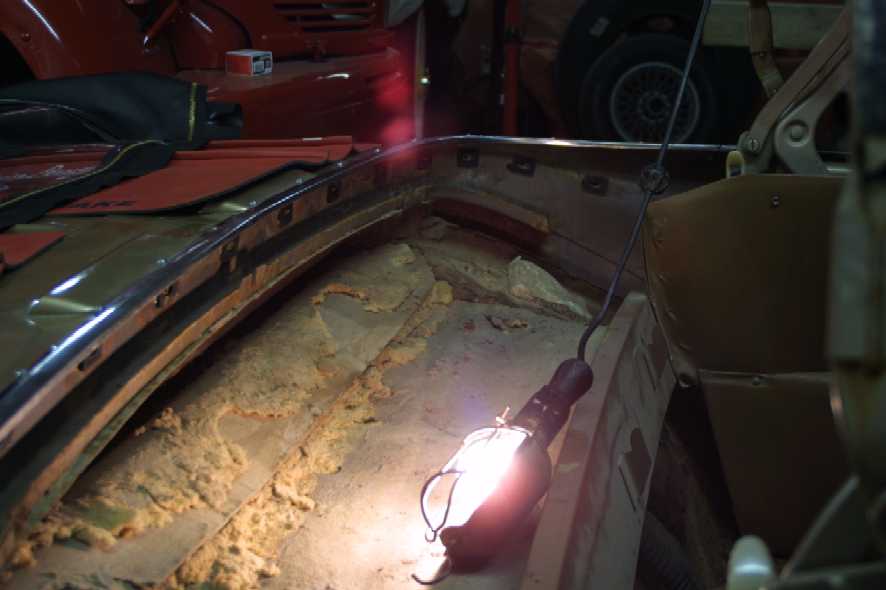
Here you can see them glued in place:
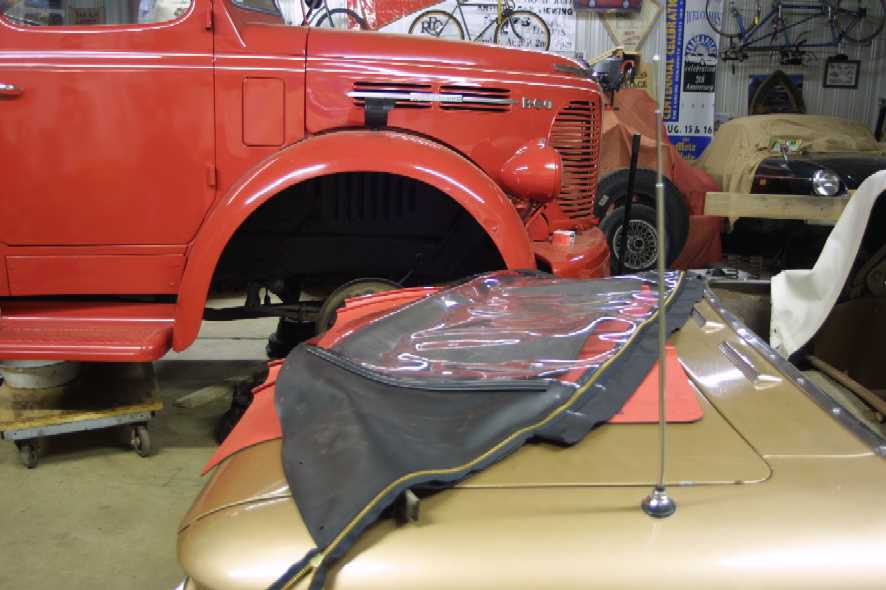
Here is what the window looks like with the staples to the trim sticks in. We didn't go real heavy on the staples past the ends of the window, because we will be stapling the convertible top over the inner window panels, so we will be adding plenty of staples later on.
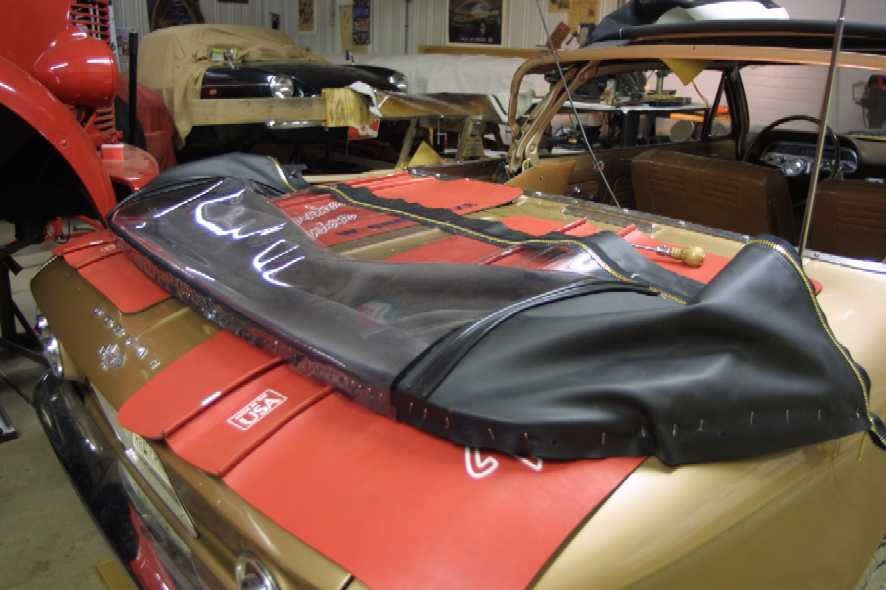
Looks supple, doesn't it?
Unfortunately, this is where my photos end, because something went wrong as I was downloading them to my computer. Mea culpa.
Anyway, once we had the blocks glued in and the
Where was I? Dang pilot light went out on the furnace. I don't care how high you turn the thermostat up, if the furnace isn't lit it won't throw much heat. First digital cameras, now furnaces...I hope technology does not fail me entirely tonight.
Anyway, as I was saying, once we had the blocks glued in and the window stapled to the trim sticks, we bolted in the trim sticks. Then we had a beer.
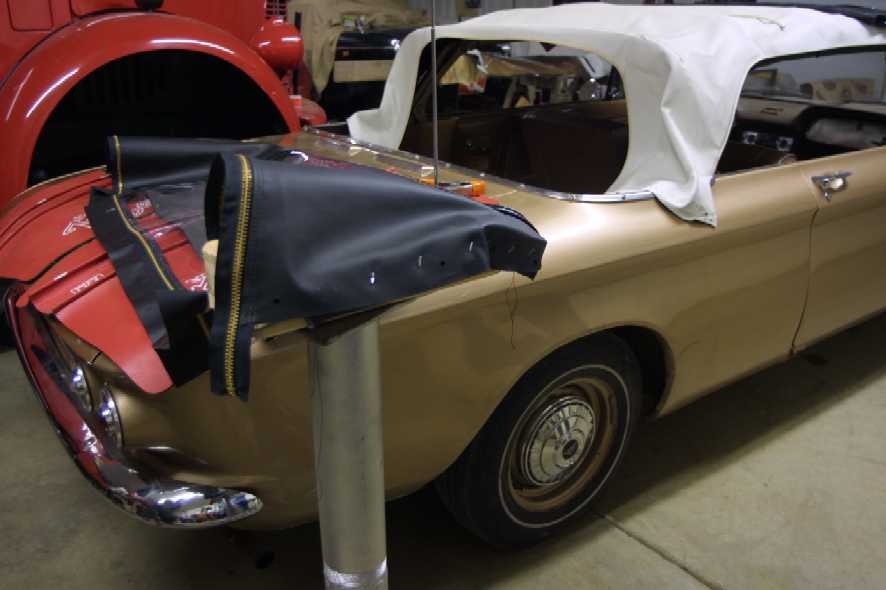
Now, the window is bolted in, but remember that the tail end of the convertible top is not tucked into that. If you look again at the picture above of Jeff gluing in the blocks, you will see that the last top bow is held in place by the padding pockets (black fabric strips that hold the top padding in place). If you look at the first picture of the staples going into the window (the second one above) you will see the ends of the top hanging down like an untucked shirt. These get flipped forward when the window gets bolted in at the bottom. This then enabled us to staple the top of the window assembly to the bow. If you look again at the picture with Jeff in it you can see how the staples go into the wood or whatever it is in the top bow.
We put a little space heater on the engine lid to warm up the plastic window a little more, and then started stapling the window to to the bow. Actually, we did not staple the window itself. The end of the window is sewn to a fabric strip of zipper tape. On the other side of the tape is enough material to staple to the top bow. We measured the bow and found center, then measured the window and found its center. Then we stapled from the center outward. We ran our staples at an angle to spread the tension of each staple, the idea being that this would lessen the likelihood of tearing. As we stapled, we pulled the window taut to get out as many puckers as possible.
Next, we took the flap of material that remained hanging over the bow toward the front of the car and folded it back over the stapled part of the bow. This was then stapled down as well, this time running the staples parallel to the seat back, if that makes sense, so that they would criss-cross the other staples.
At this point, we had pretty much ran out of time, so we had another beer. We posed proudly with our brews around the taut, clear window, but you can't see that because I wasn't able to download the *&^$! pictures.
Now that the window is in, the next step will be to unbolt the trim sticks again, staple on the tail of the top, and then bolt it all back together. Then we will be done. Since the temperature will be getting down to the 50 deg. mark in the barn and we don't have the full compliment of staples in the lower trim sticks, we unlatched the front of the top and opened it up a bit so that the top and window would be slack. Then Jeff and I went home.
Other navigation:
Legends of the Engine Compartment
Detroit Area Corvair Club Homecoming 2002
Gallery: 1965 Corvair Corsa 140 Coupe
Norman C. Witte Personal Web Page
All images and text copyright Norman C. Witte 2003.