Windows 64
Conclusion
March 16, 2003
With my convertible repaired Saturday, we met up at Jim Neal's barn on Sunday to finish off installation of the rear window in his '64 Monza convertible. When we left off, the window had been stapled to the rear bow and was in place.
The next step was to staple the top trim back to the rear bow. We did this by folding the top back enough to make the top slack, and then stapling the top to the bow where it had been previously stapled. We worked from the center out, keeping the material under as much tension as possible. After this was done, there is a strip of welting that is stapled to the bow to cover the screws.
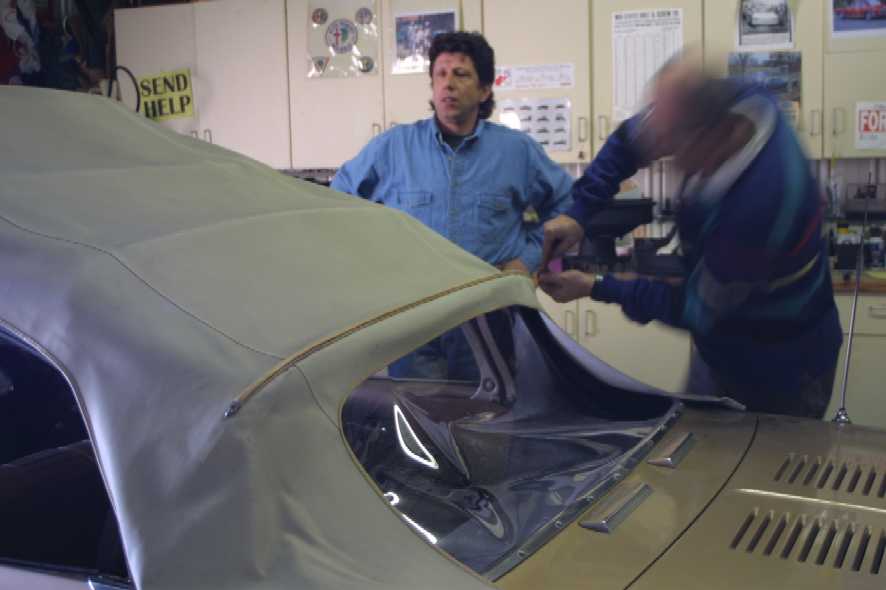
Here, Jim and Jeff attach the chrome end piece that screws on at the end of the welt (I had already finished my end, so I had time to take a picture):
Once this was done, we had to remove the tack strips holding the window in place that we had bolted in last time we worked on the car. These had to be bolted in so that the window could be tautly secured to the top bow, but have to come out so that the tail ends of the top can be stapled to the tack strips, so out they came.
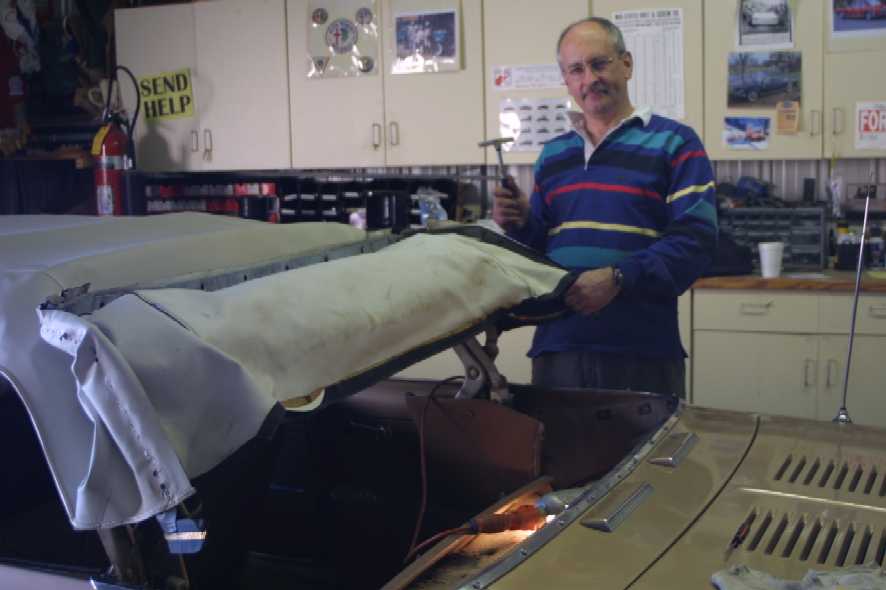
Once these were out we could staple the top back to the tack strips. We did this by using the wear marks on the top from the previous installation to locate the top in relation to the tack strips. This shot shows Jim proudly wielding a tack hammer to fully set the staples:
With the top stapled to the strips, we then reinstalled the quarterwindow weatherstrips. These bolt through the side rails, and the nuts on the top side trap the sides of the top to pull it down on the sides.
Once we got the quarterwindow trim in place, we could bolt the tack strips back in place. Before doing this we opened the top enough to make the material slack.
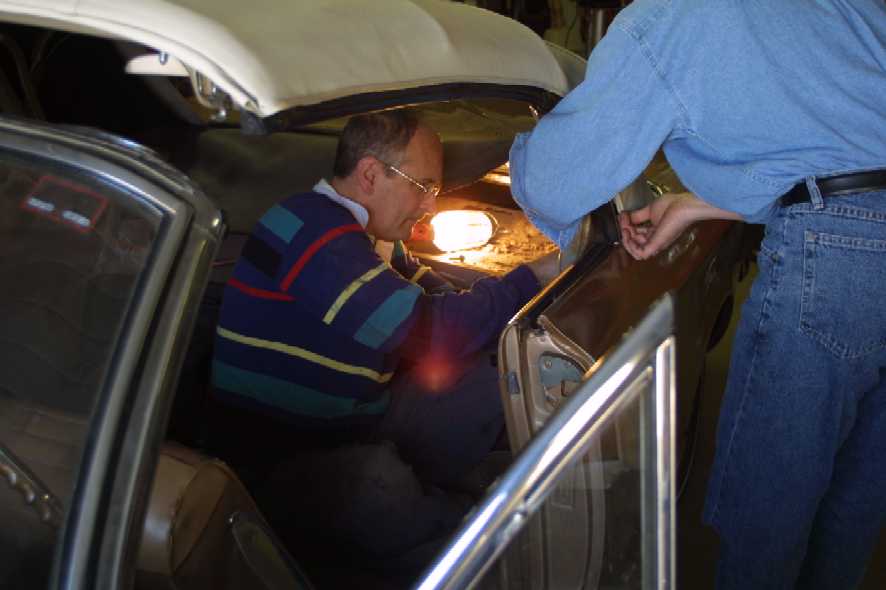
This photo shows Jim bolting the tack strips back in:
And that's it. We left Jim the job of reattaching the front of the top bag, reinstalling the trim panel we removed inside, and putting the rear seat back in. Here's how the top looked when it was fully latched:

We have a pucker on the other side that we want to take out. We were puzzled about it until Jim mentioned that it was there before we took the top apart. Since we reinstalled it in the same position, it was not surprising that the top puckered in the same spot. It should not be that big a deal to remove the trim stick and tighten the top up on that corner.
And that, my friends, is how we did that.
Other navigation:
Legends of the Engine Compartment
Detroit Area Corvair Club Homecoming 2002
Gallery: 1965 Corvair Corsa 140 Coupe
Norman C. Witte Personal Web Page
All images and text copyright Norman C. Witte 2003.